Kiosk Recording
Recording on the Kiosk
A step-by-step walkthrough of running a consultation on the Clinara kiosk app on your iPhone or iPad — from logging in with your PIN to ending the recording.
Log In to the Kiosk
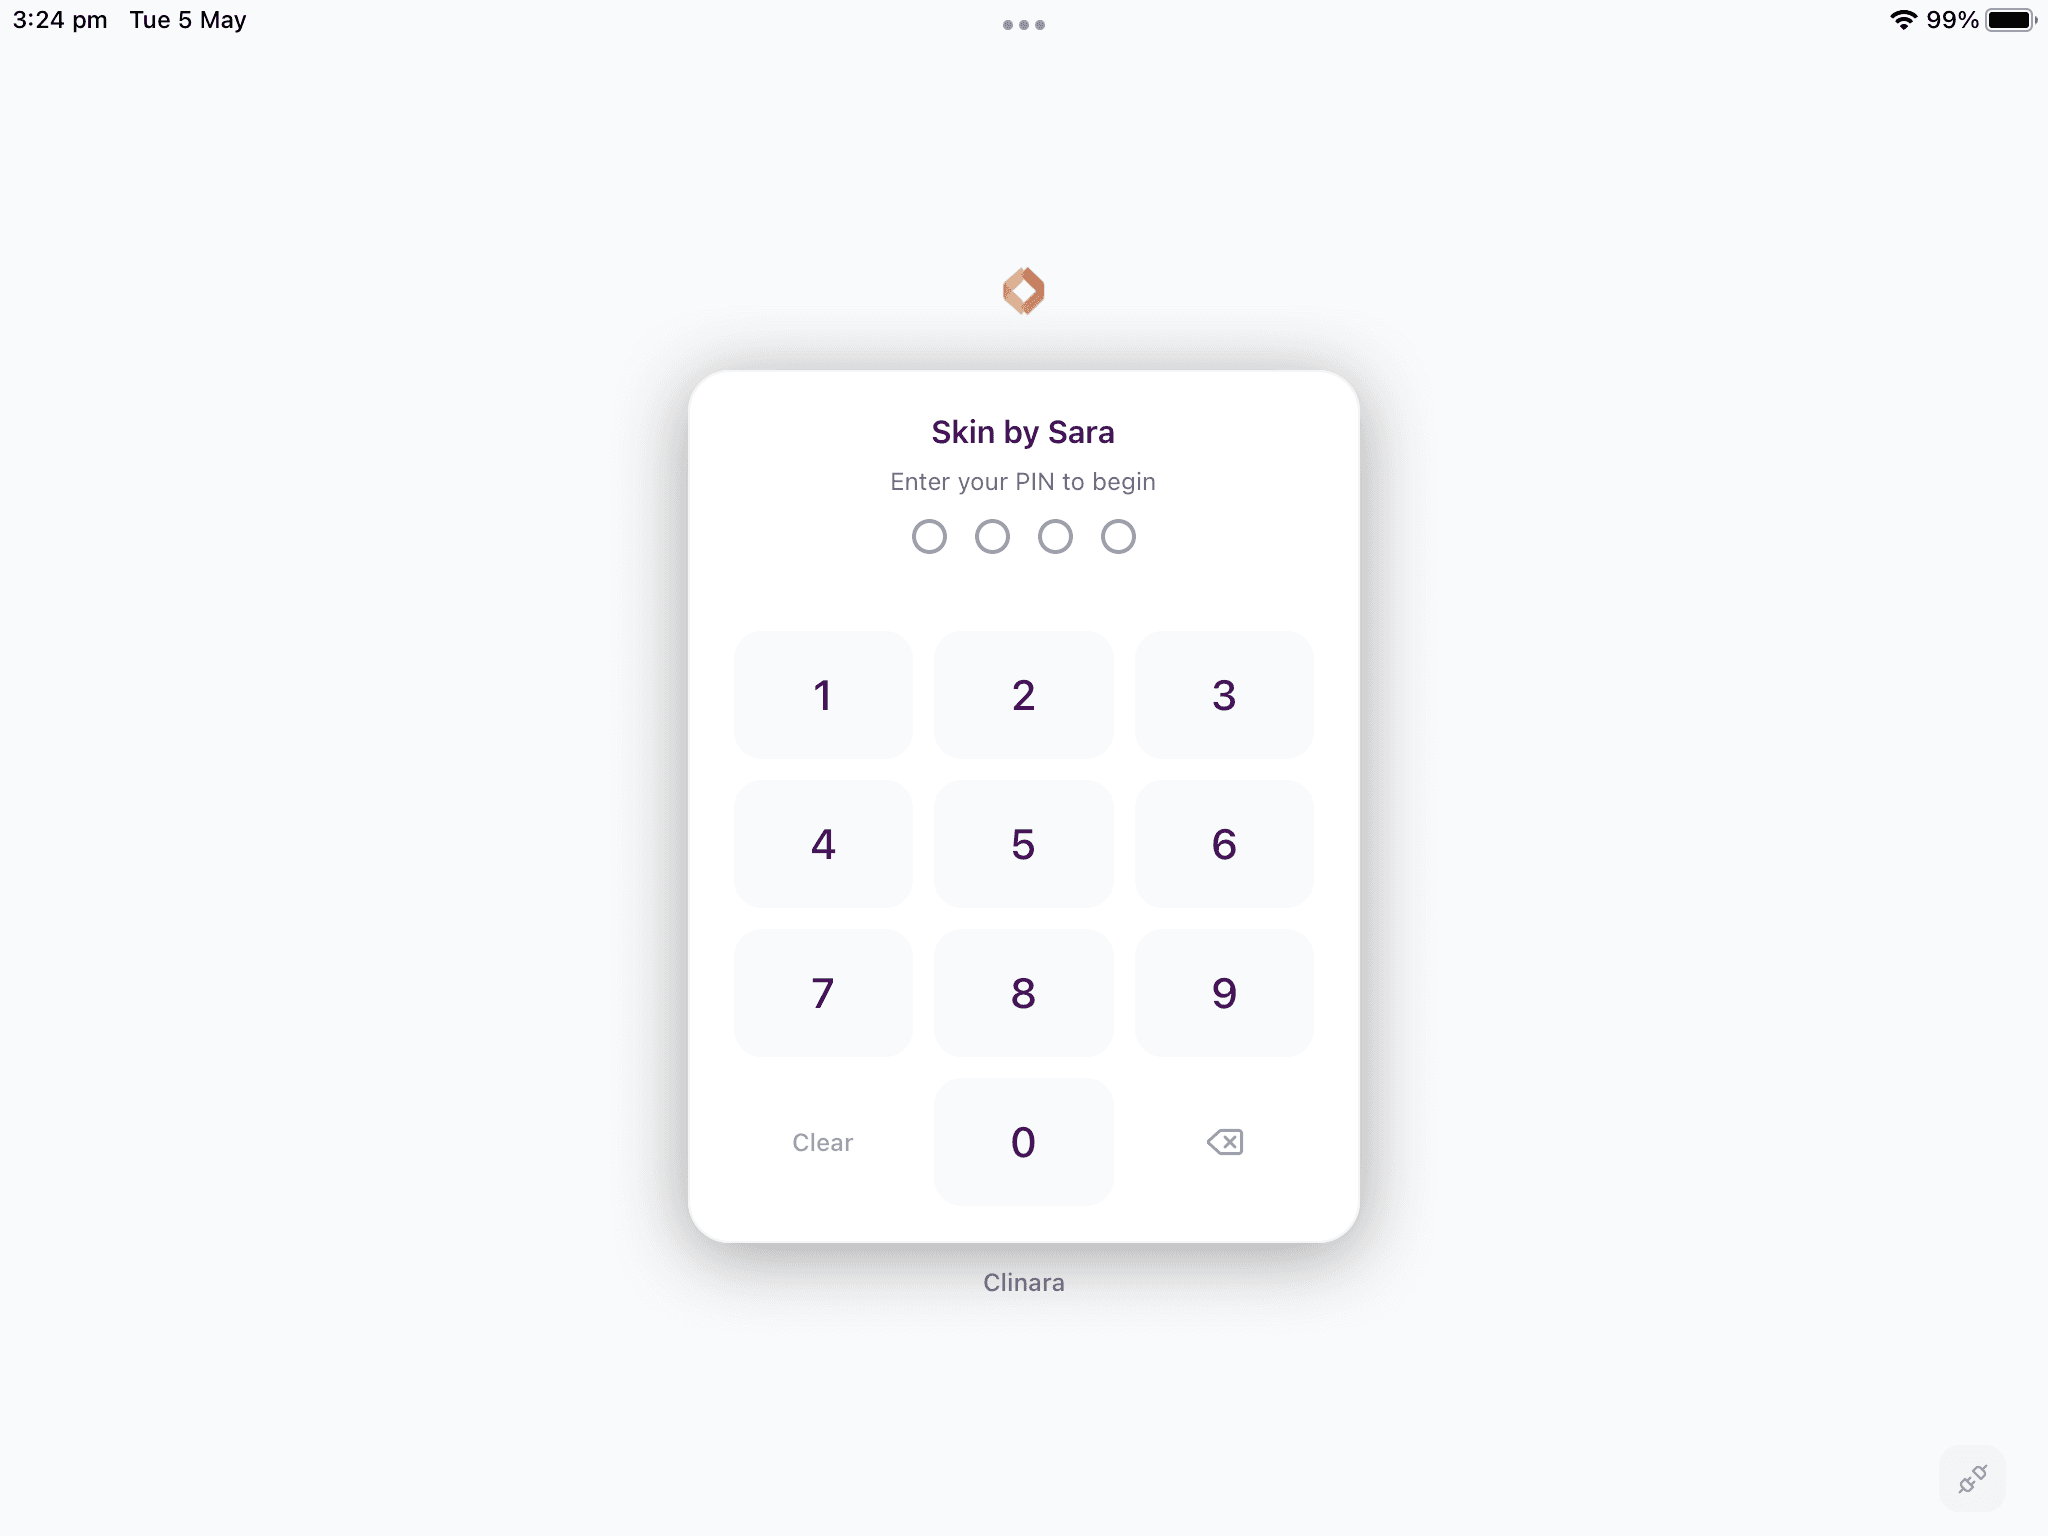
Enter your PIN
On the iPhone or iPad running the kiosk, you’ll see your clinic’s branding and the prompt “Enter your PIN to begin”. Tap your 4-digit kiosk PIN on the on-screen keypad to identify yourself — the upcoming session will be recorded against your clinician profile.
Start a Session
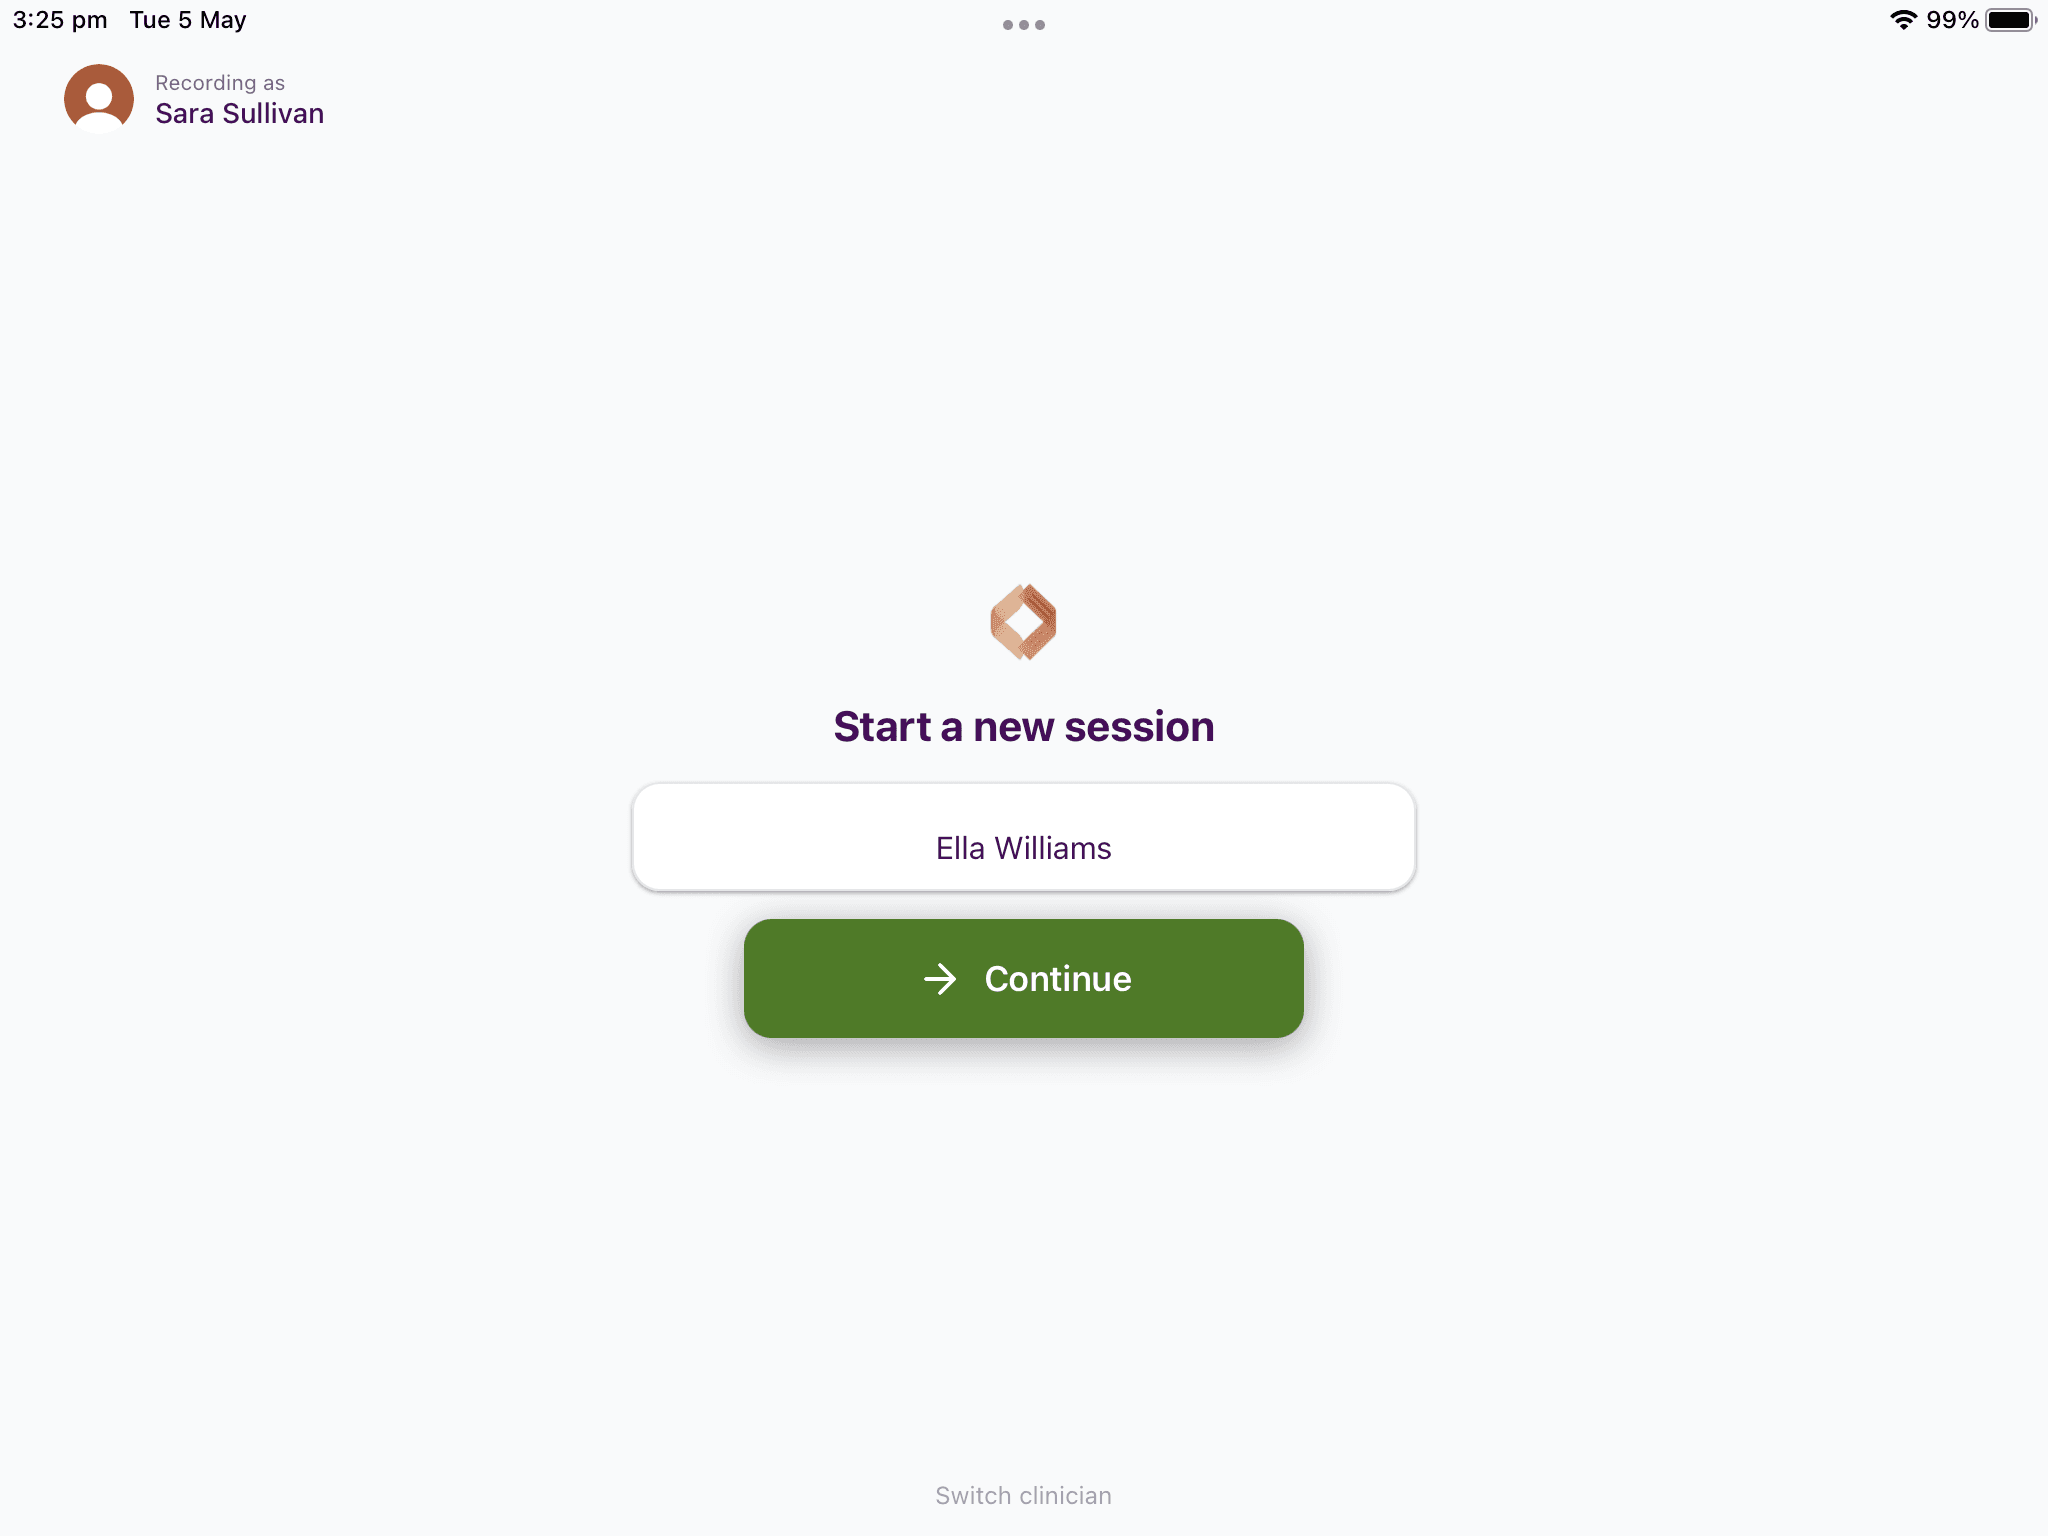
Enter the client’s name
The next screen confirms which clinician the session is being recorded as in the top-left corner. Type the client’s name (this helps you identify the session later in your dashboard) and tap “Continue”. Need to hand the device to a colleague? Use “Switch clinician” at the bottom to log out.
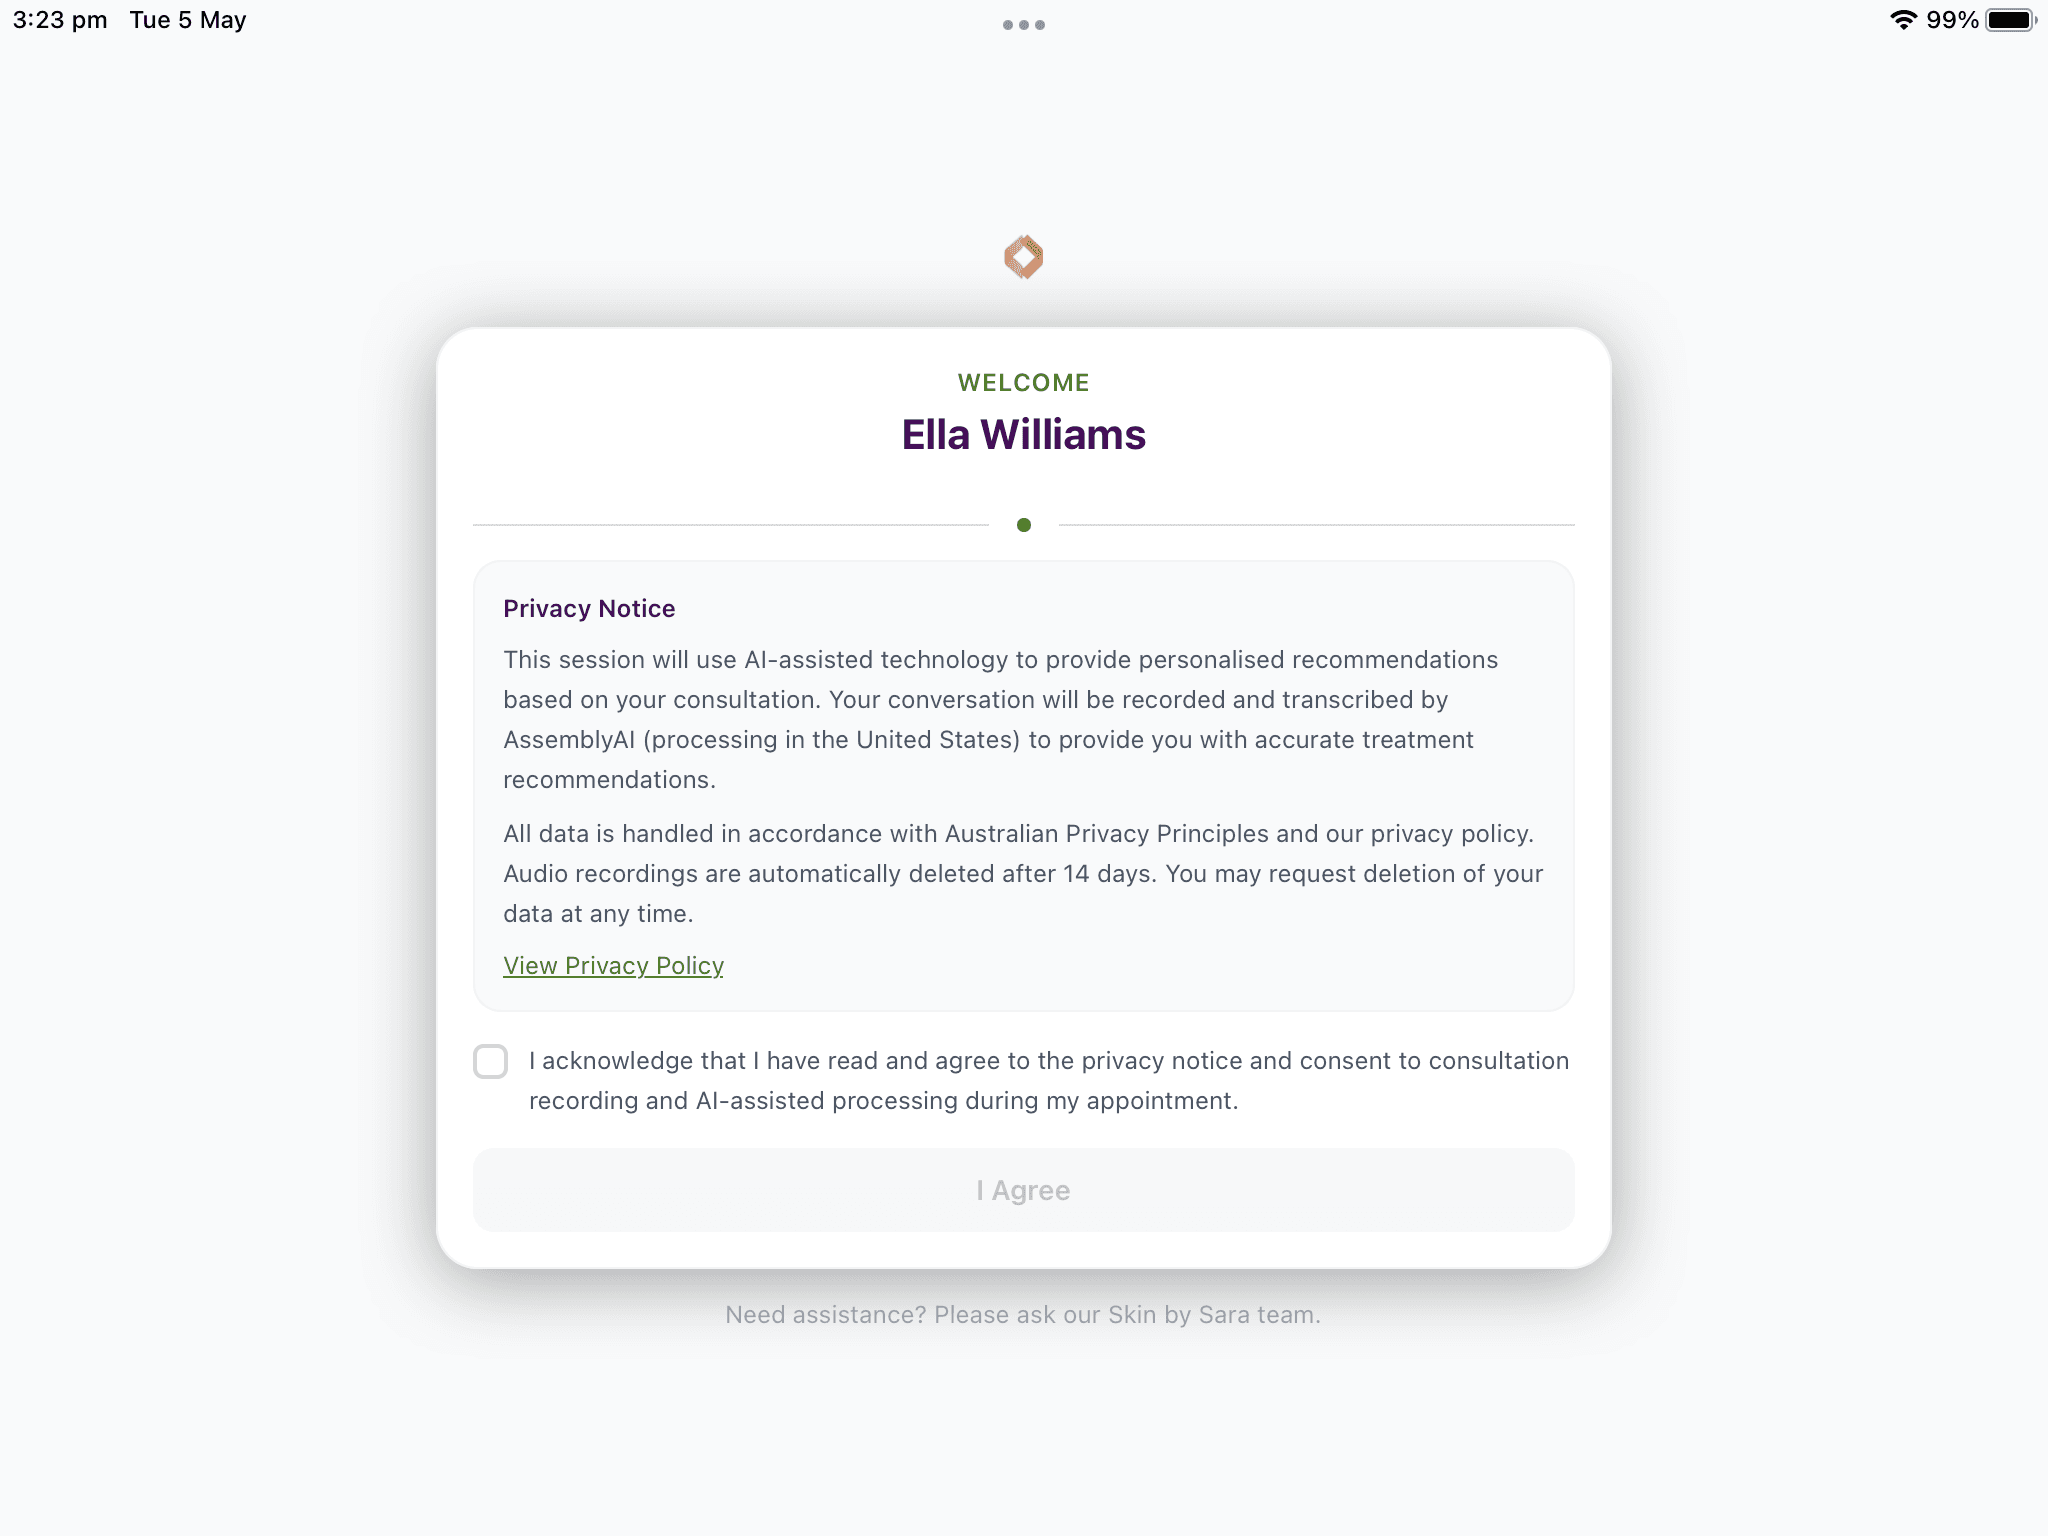
Client privacy notice (optional)
If your clinic has turned on “Collect client consent in Clinara”, the kiosk shows the client a personalised welcome with the privacy notice. They tick the acknowledgement box and tap “I Agree” to continue. If your clinic captures consent another way, leave this setting off and the kiosk will skip straight to the next step.
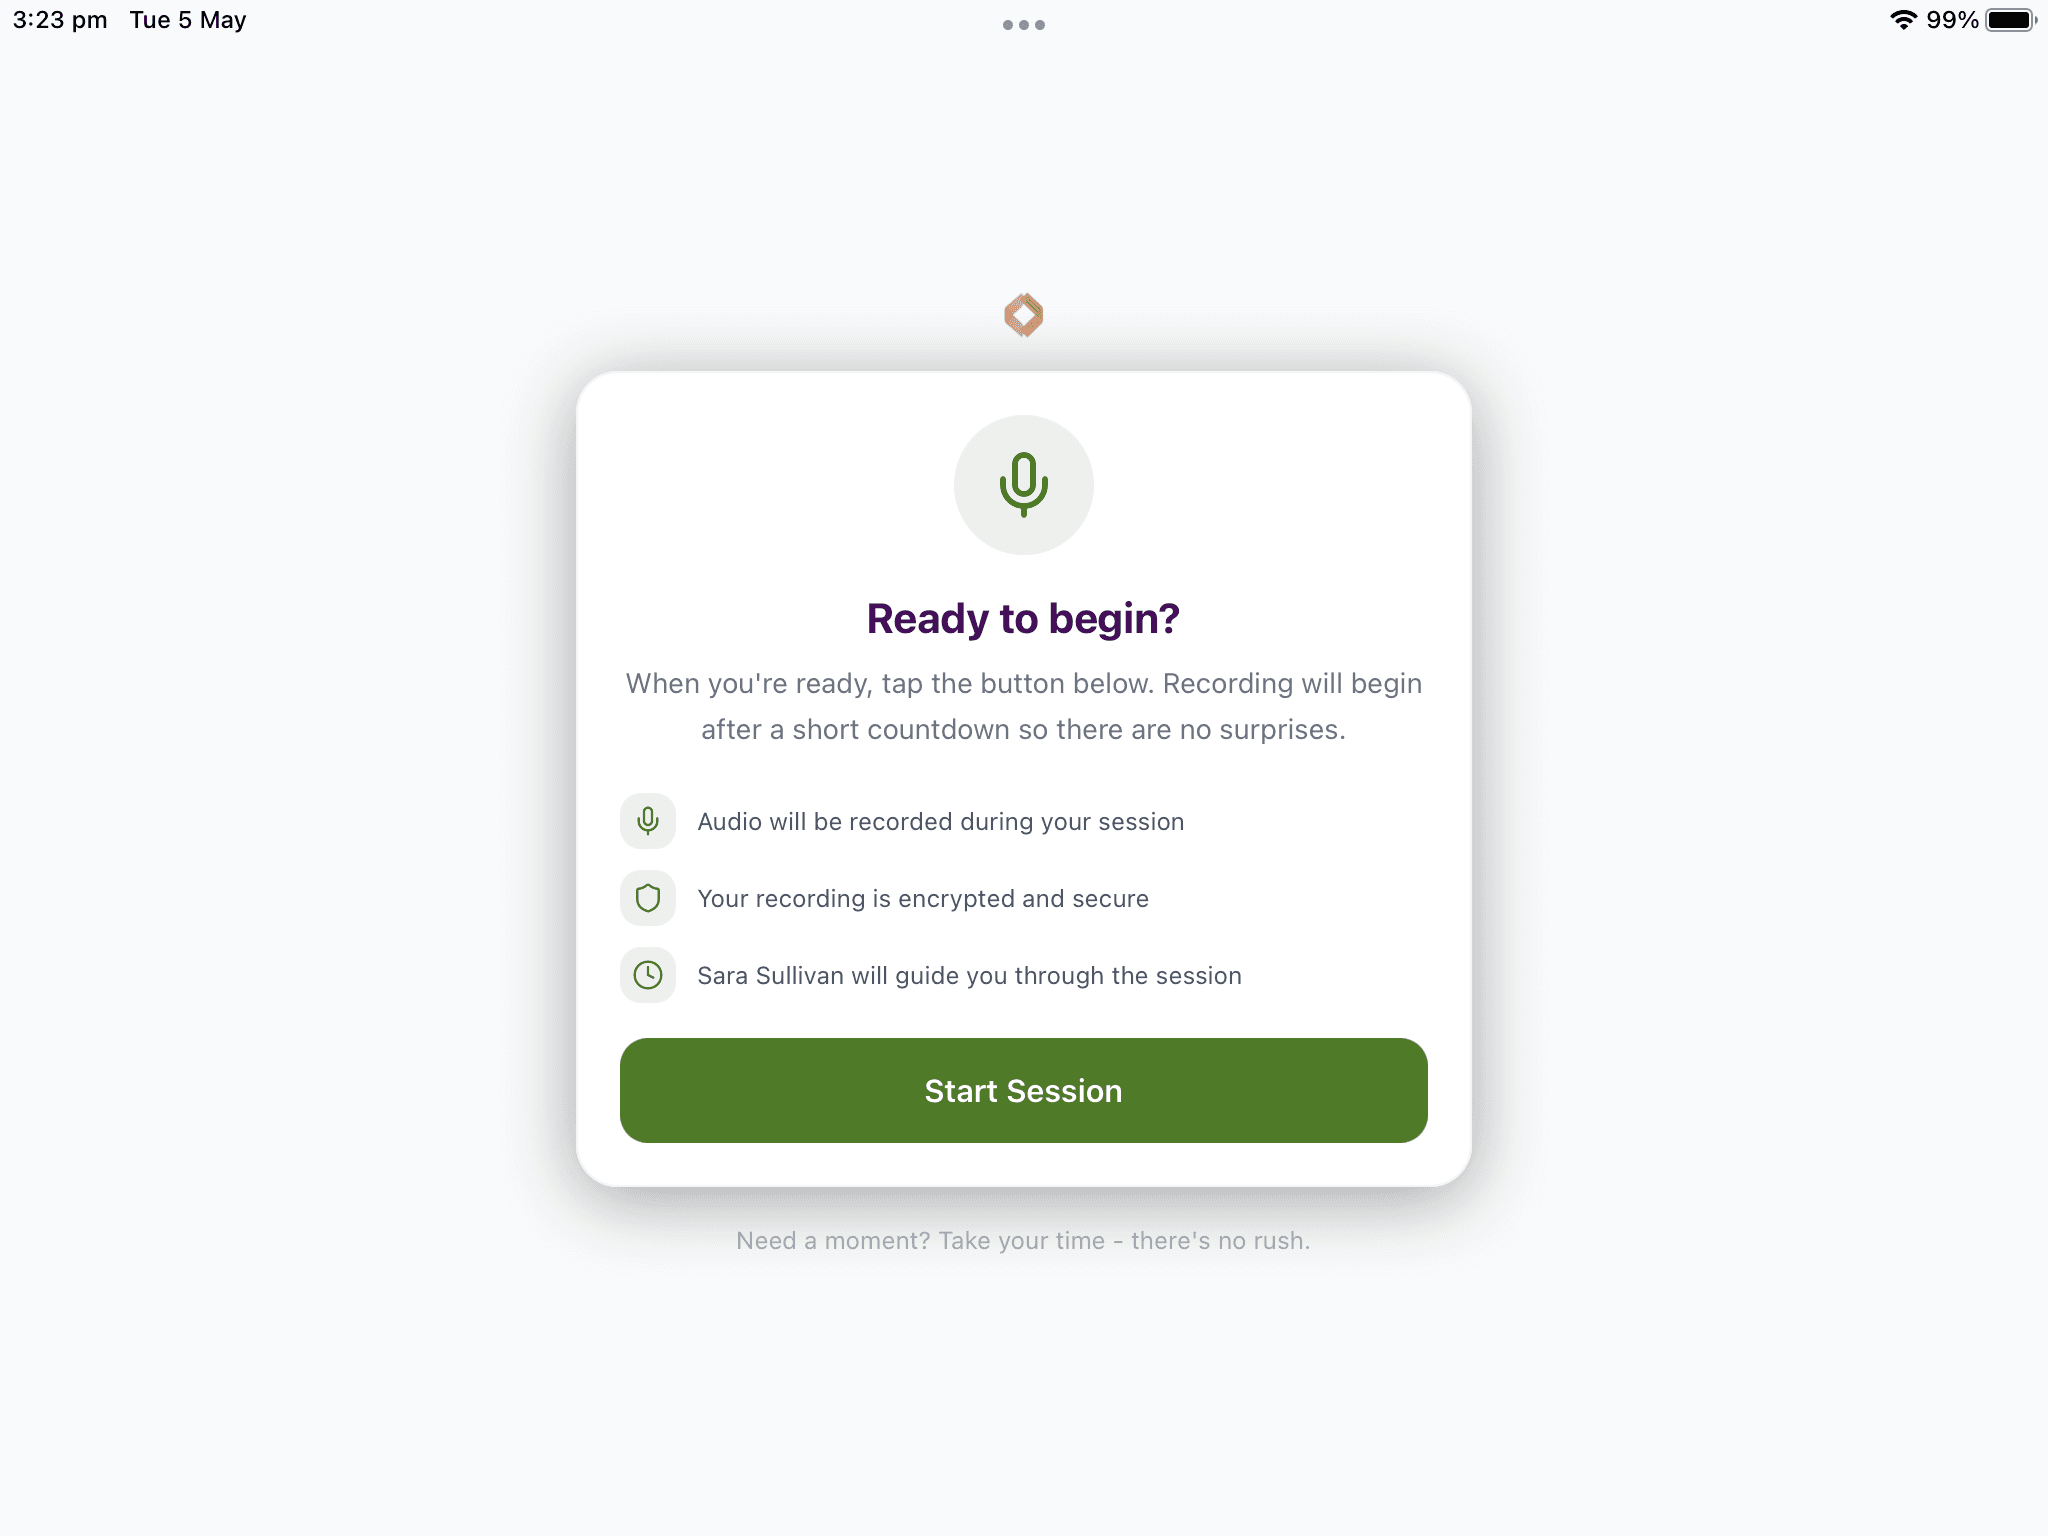
Ready to begin
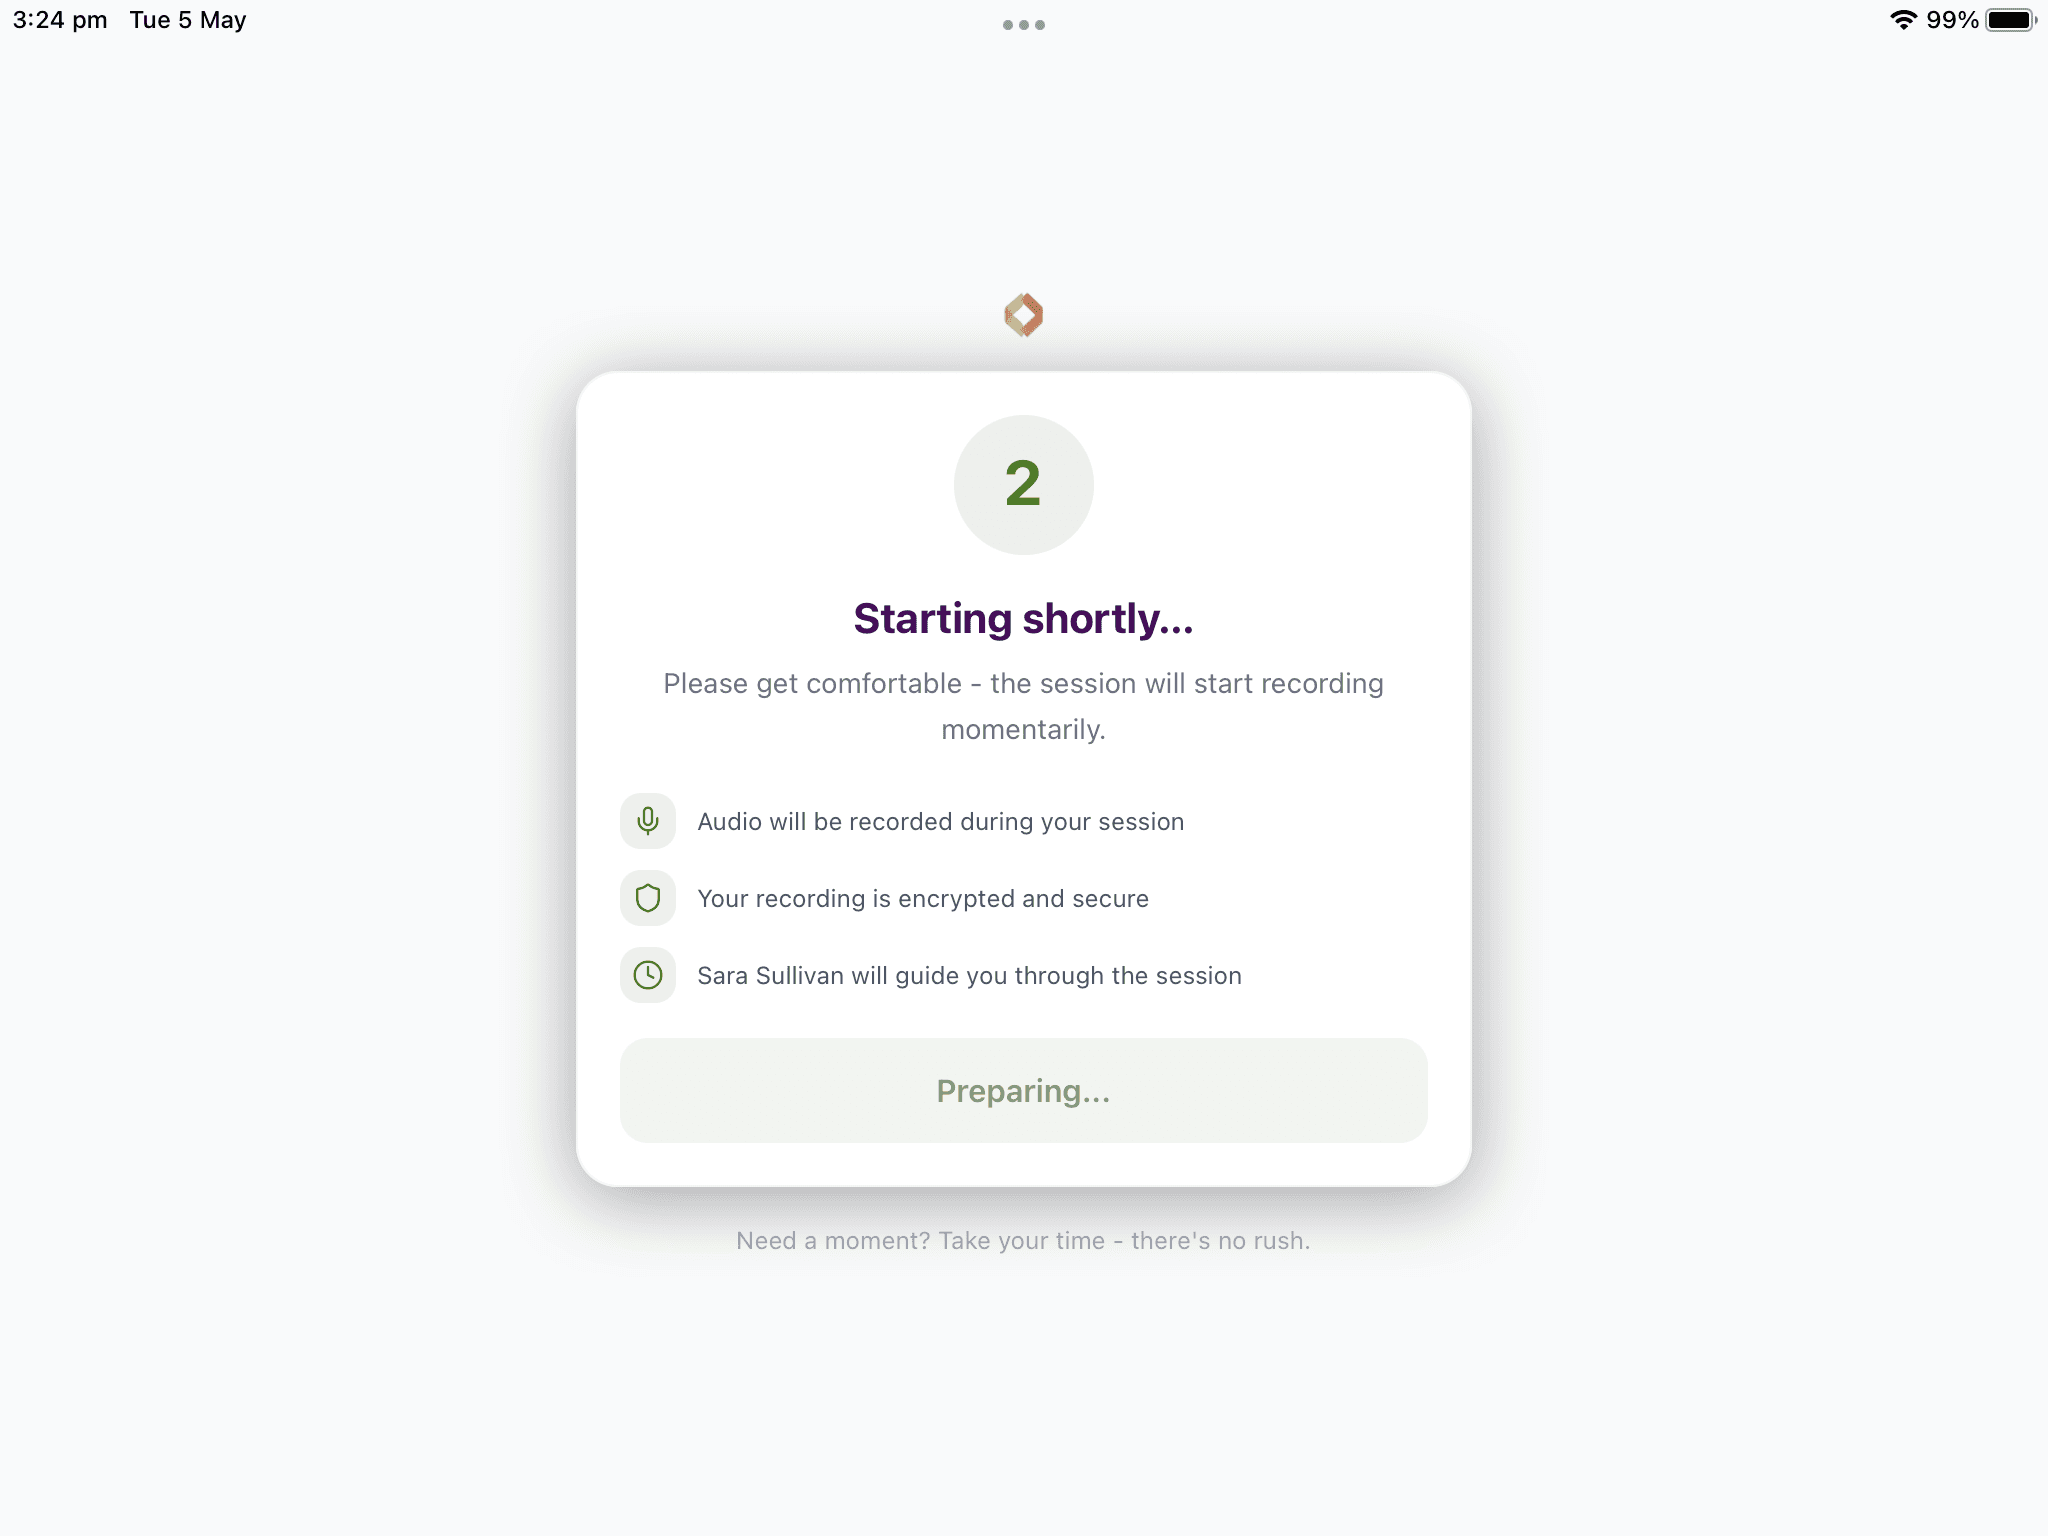
Clinara then shows a “Ready to begin?” card so the client knows what to expect: their session will be recorded, the recording is encrypted and secure, and you’ll guide them through. When the client (or you) is ready, tap “Start Session”.
Short countdown
A “Starting shortly…” countdown gives the client a moment to settle in before recording actually begins — no surprises.
During the Session
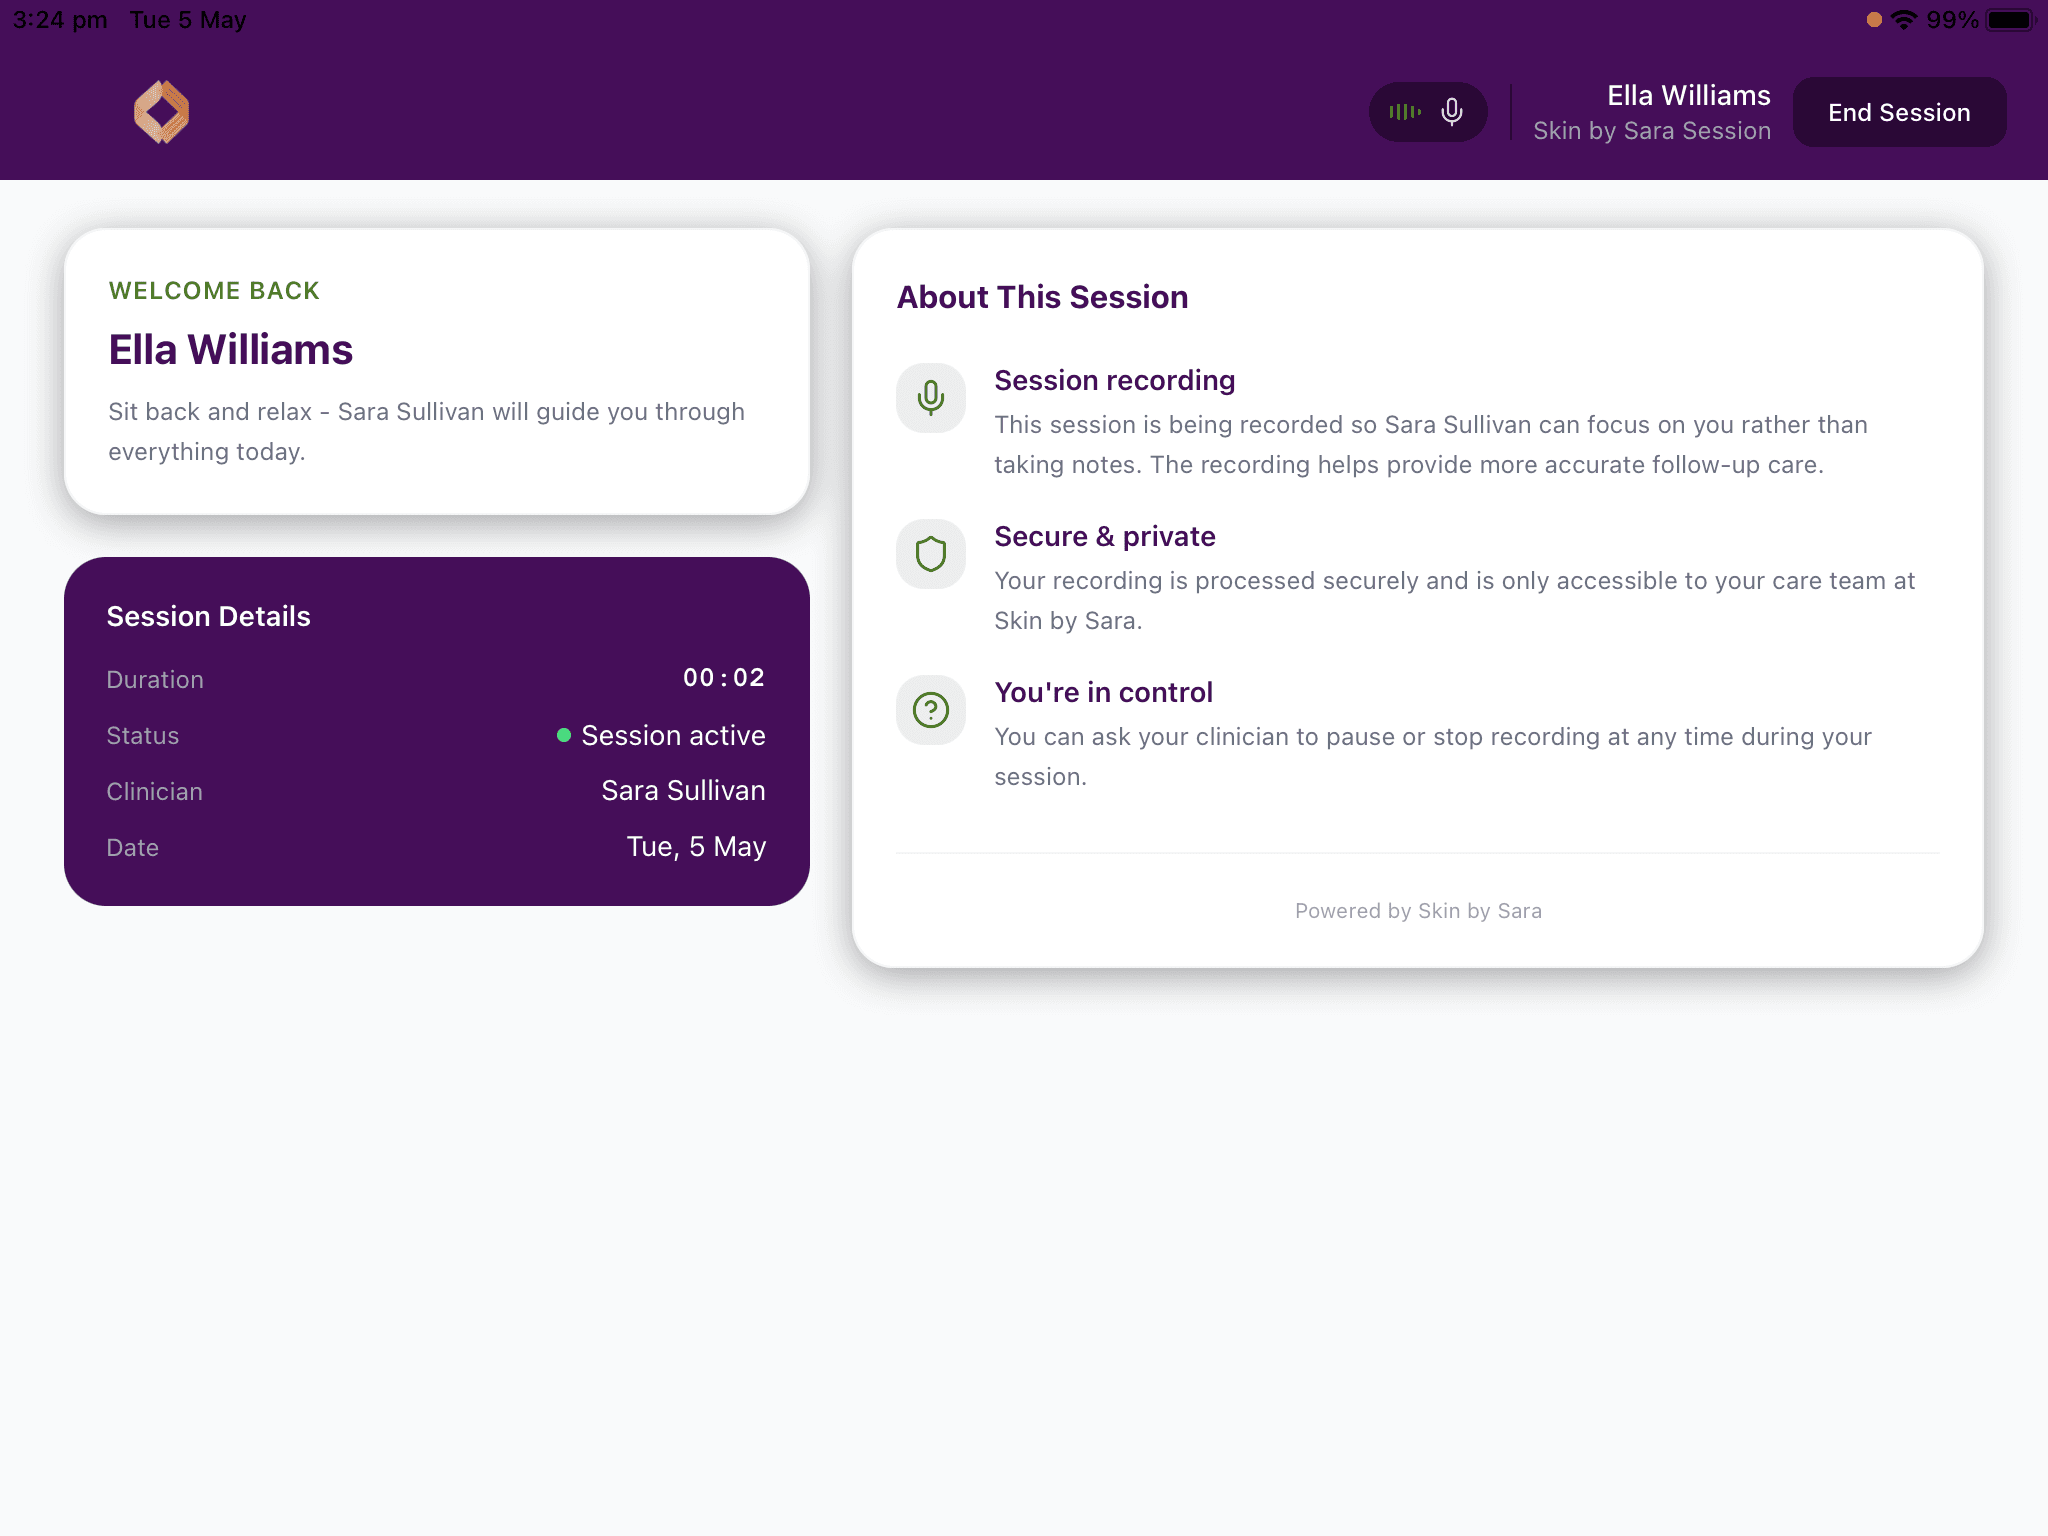
Session in progress
Once recording starts the kiosk switches to your clinic’s branded session view. The header shows the client name, the session badge, and a live recording indicator. The client sees a “Welcome back” card, a Session Details panel (duration, status, clinician, date), and an “About This Session” explainer reminding them why the session is recorded and that they can ask you to pause or stop at any time. Leave the device on this screen for the entire consultation.
End the Session
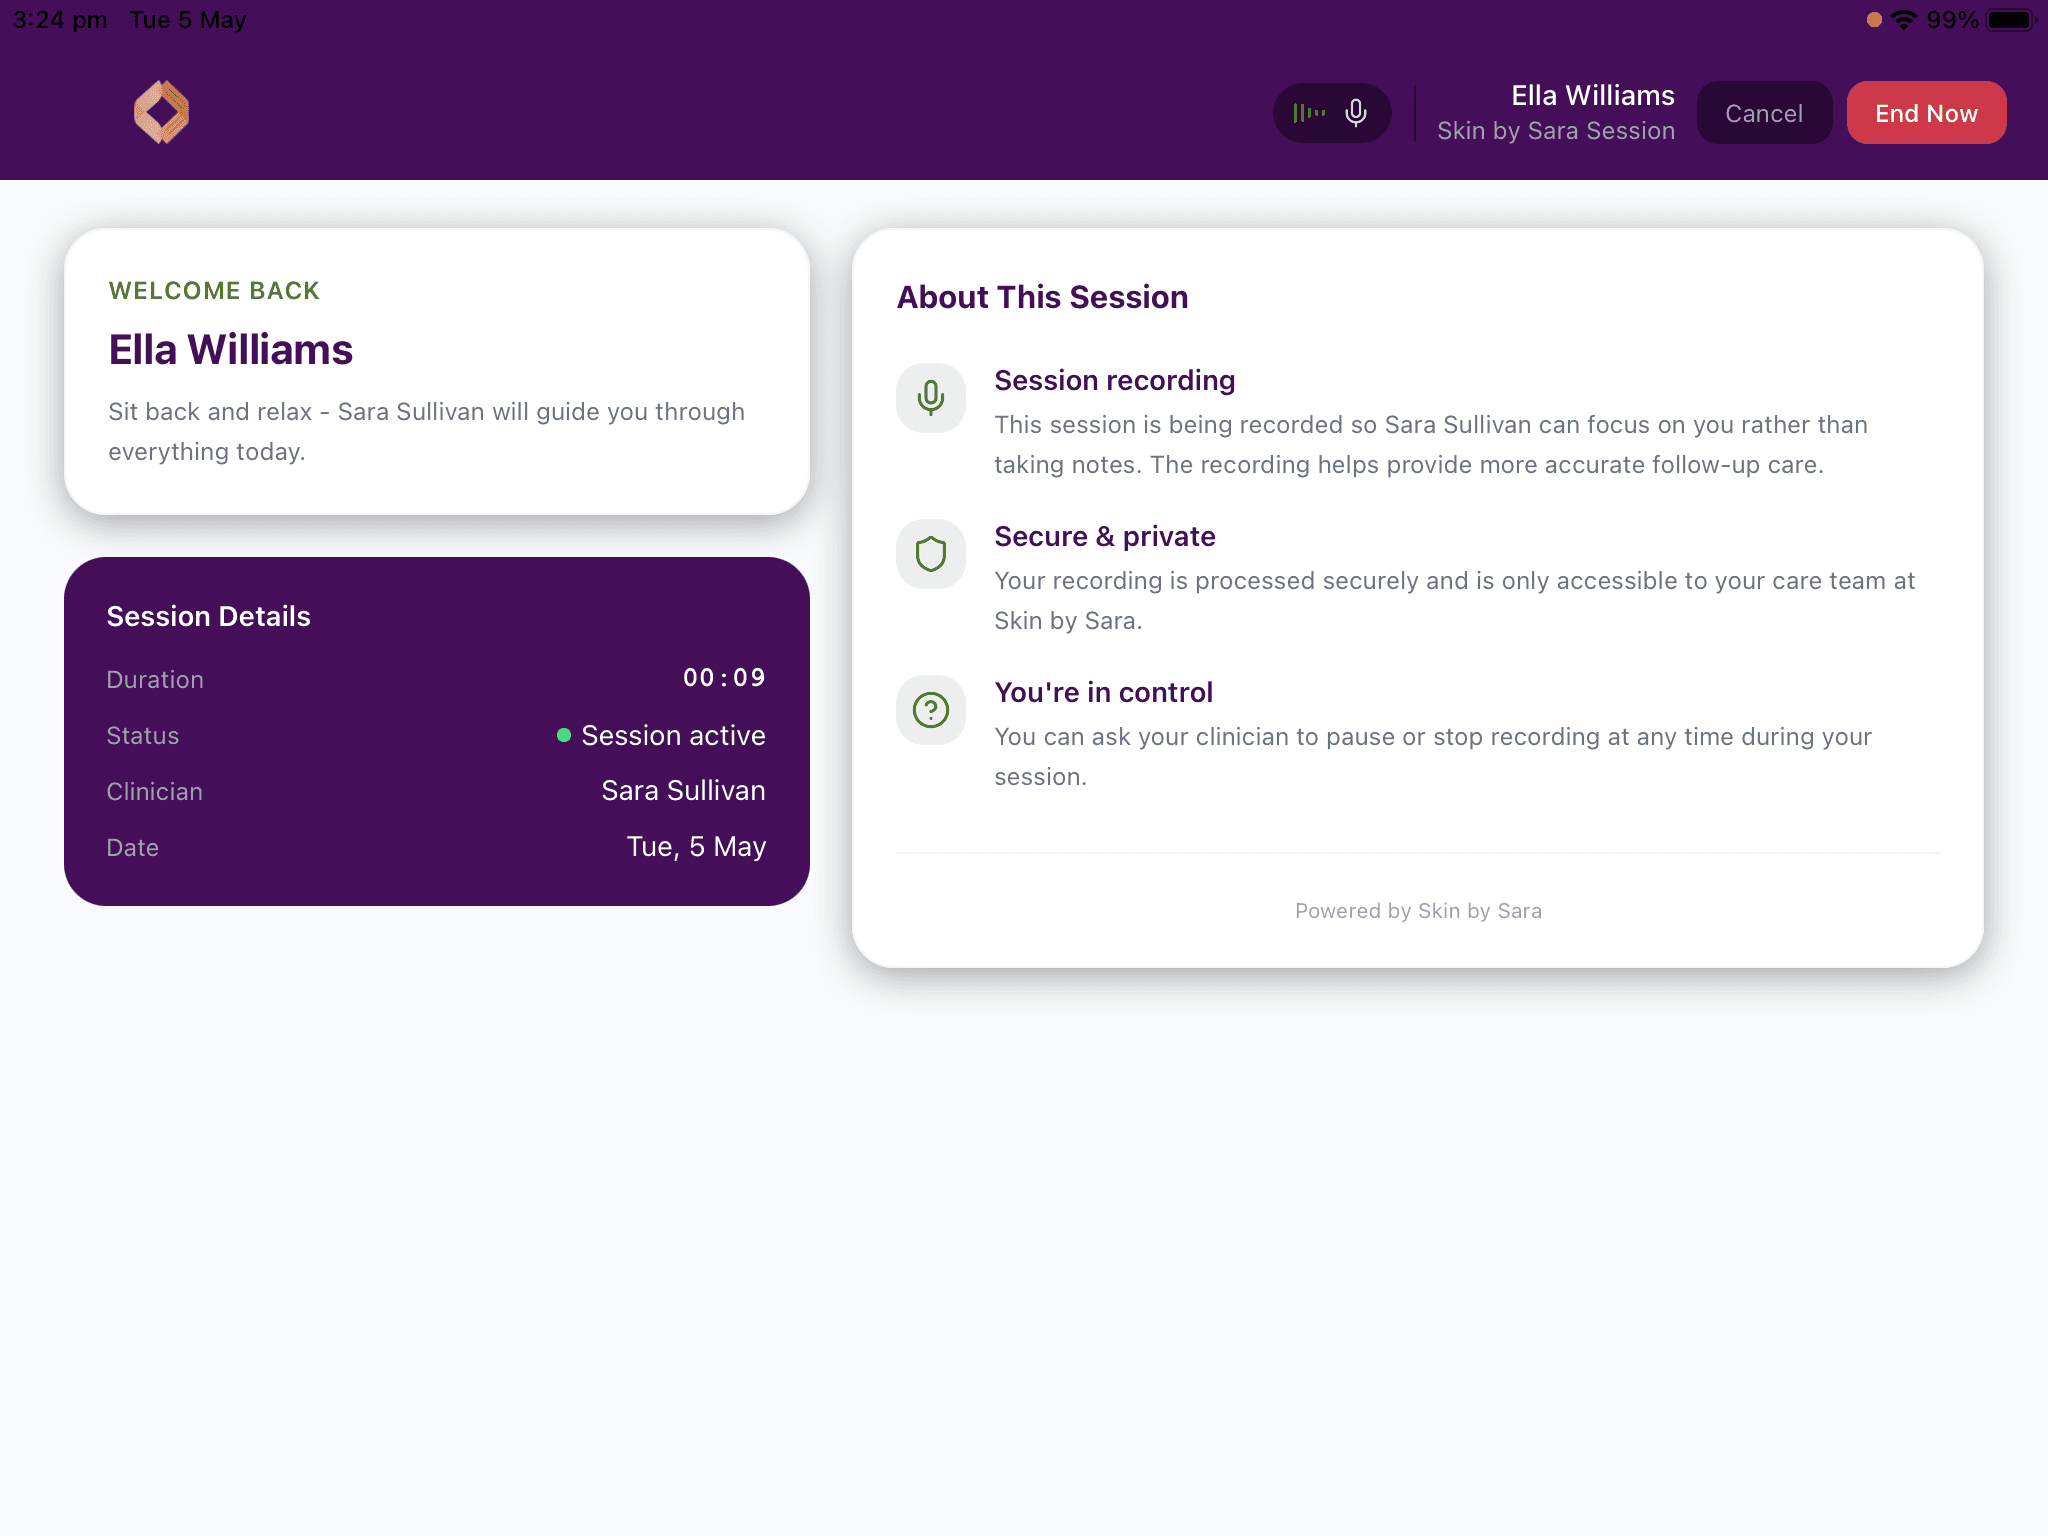
Wrap up the recording
When the consultation is finished, tap “End Session” in the top-right corner. The button changes to a confirmation prompt with “Cancel” (keep recording) and “End Now” (stop and upload). Tap “End Now” — Clinara uploads and processes the recording automatically and you’ll see the new session in your dashboard once it’s ready.
Tips for a smooth session
A few small things make a big difference to recording quality:
- 1Place the device nearby — Position the iPhone or iPad close enough to pick up both voices clearly, but out of the way so it doesn’t distract from the consultation. An iPad on a stand in the treatment room works best.
- 2Don’t switch apps — Keep Clinara in the foreground for the entire session. Switching apps or letting the screen lock will stop the recording.
- 3Check the connection — The recording uploads after the session ends, so make sure the device is on Wi-Fi (or has a reliable cellular connection) so it can sync.
Need help? Contact support