Admin Setup
Setting Up Your Clinic
Accept your invitation, activate your clinic, and work through the dashboard checklist to get ready for your first session.
Accept Your Invitation
Open the invitation email
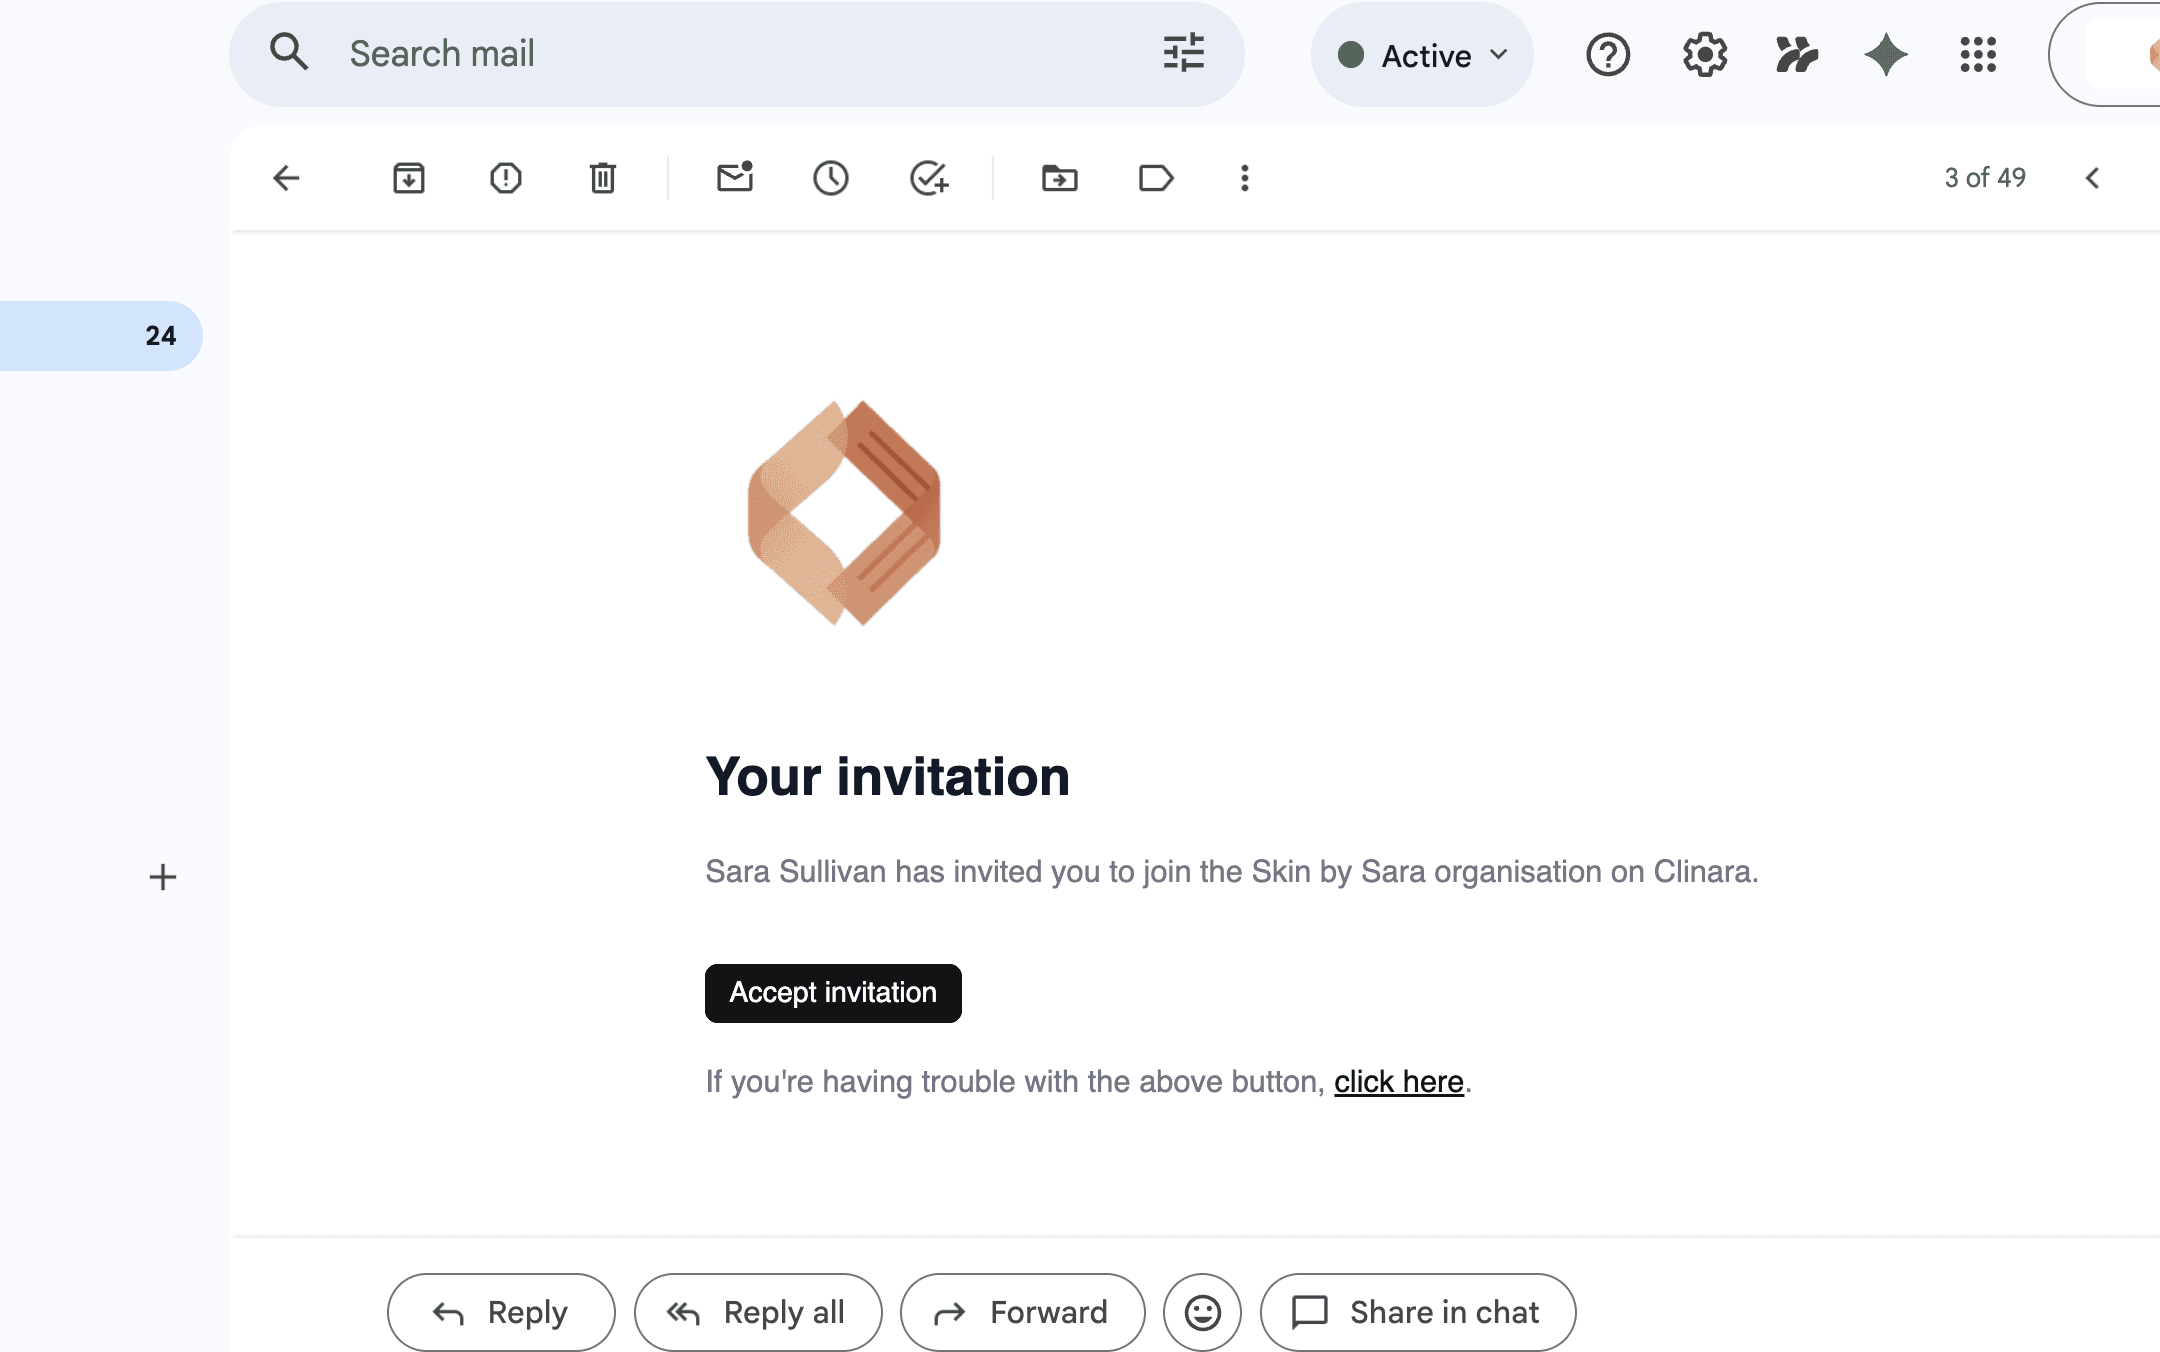
Clinara will send you an email titled "Your invitation". Click "Accept invitation" to start setting up your clinic.
Create your account
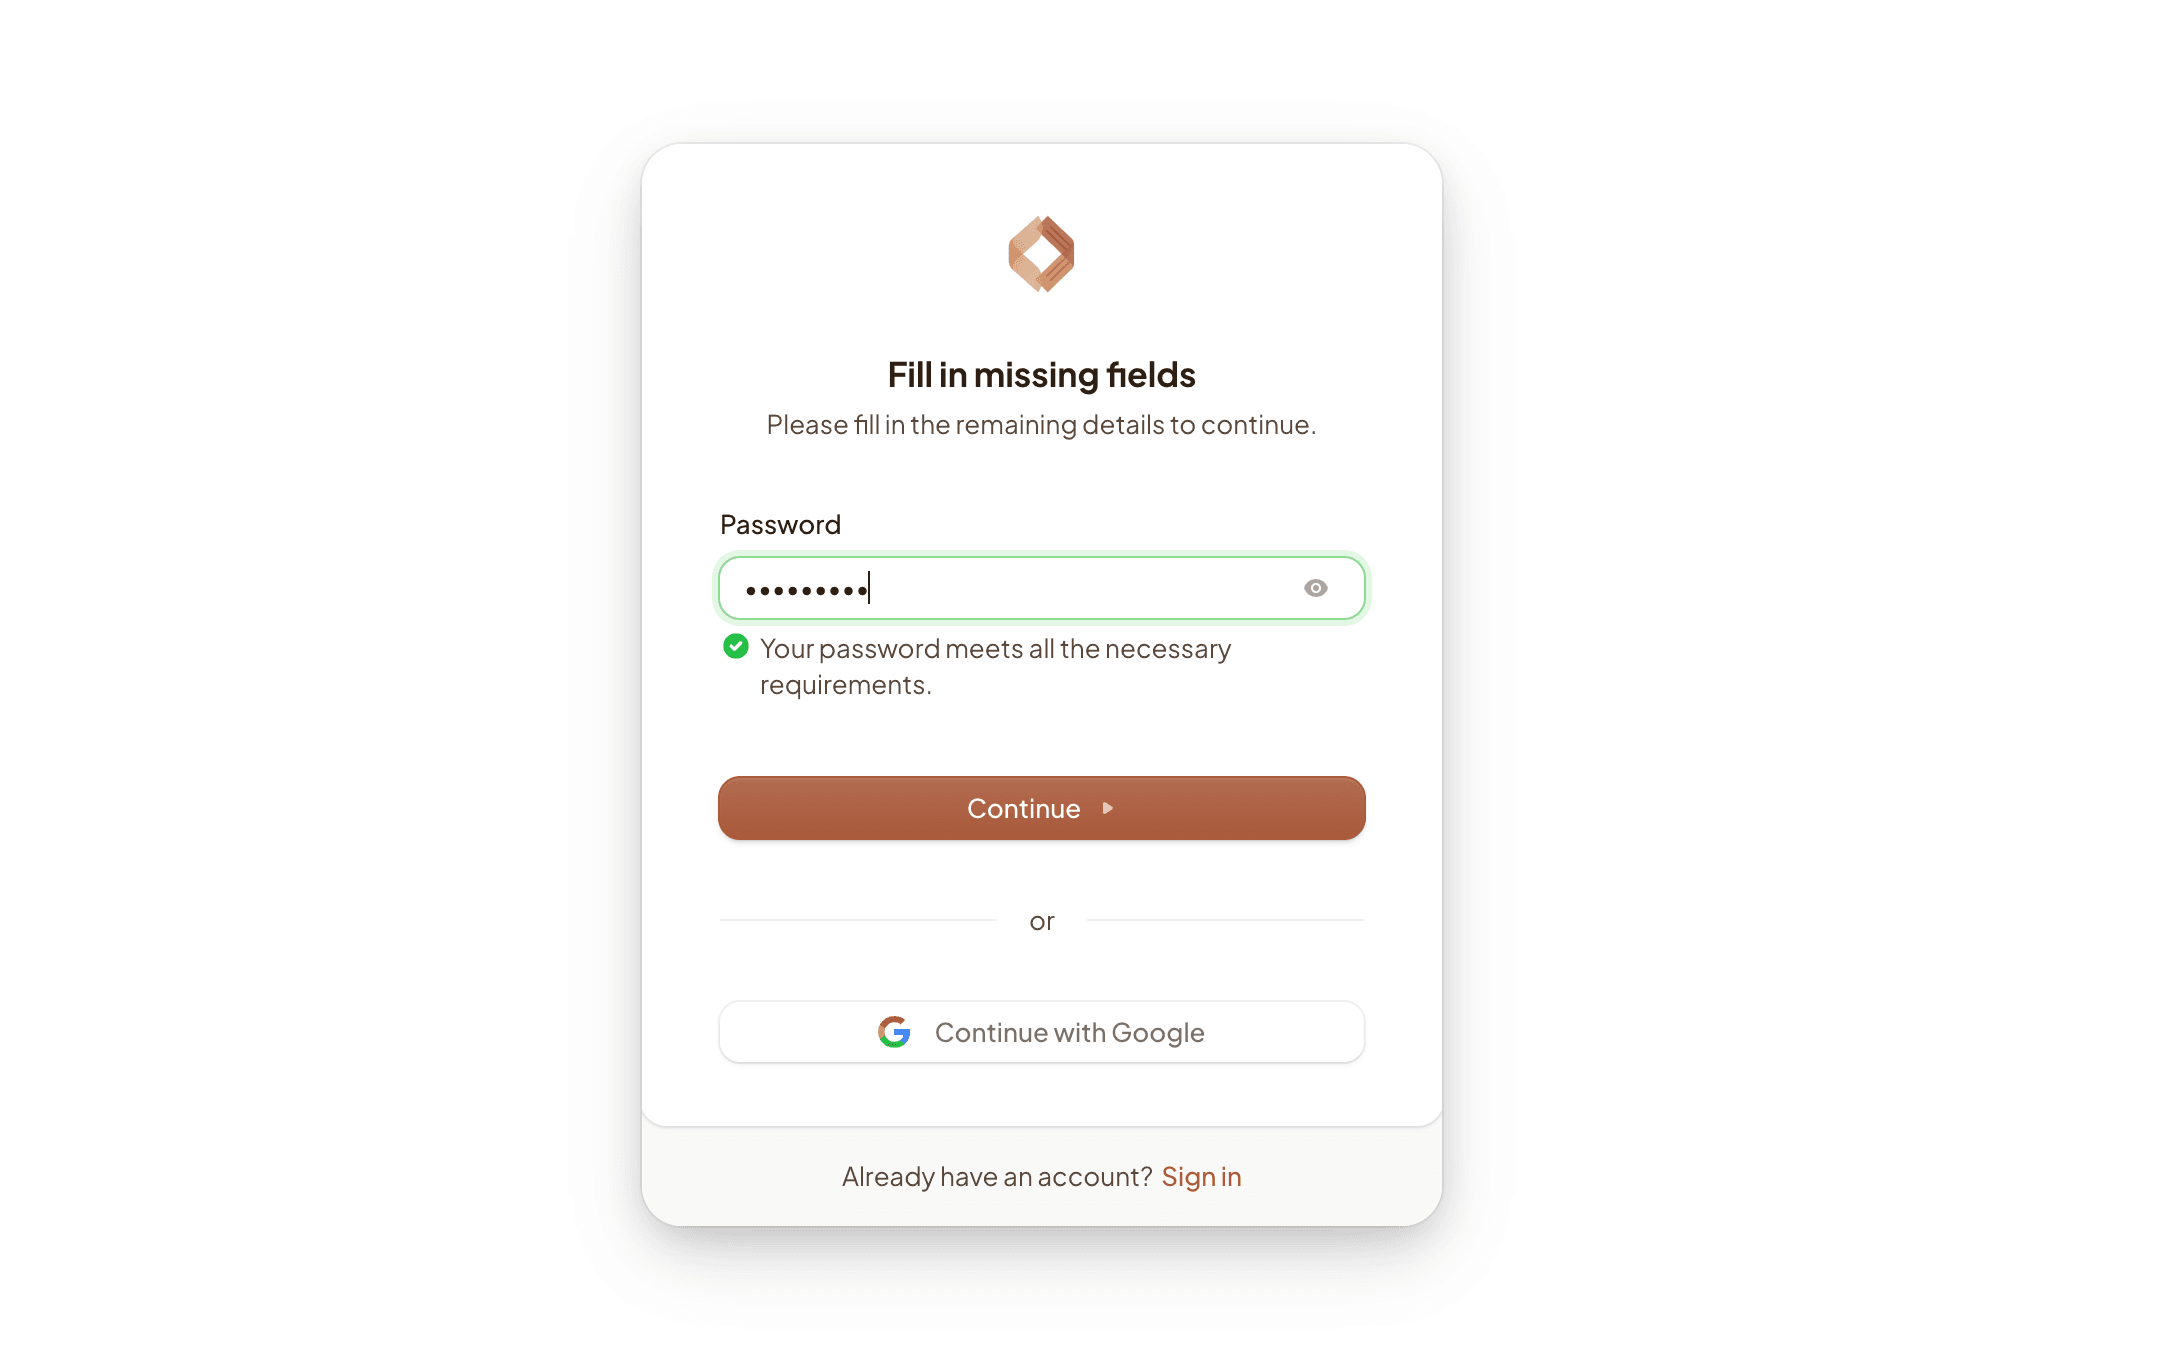
Set a password that meets the strength requirements, or click “Continue with Google” to sign in with single sign-on. If you already have a Clinara account you can use the “Sign in” link at the bottom of the card.
Activate Your Clinic
Welcome to Clinara
Once signed in you’ll land in the admin onboarding wizard. The progress bar across the top shows the four quick steps to activate your clinic. Click “Next” to begin.

Confirm your clinic settings
Pick the timezone your clinic operates in and choose how long Clinara should keep audio recordings (in days). Recordings are automatically deleted once that retention window ends. You can change either of these later in Settings › Clinic.

Acknowledge privacy & compliance
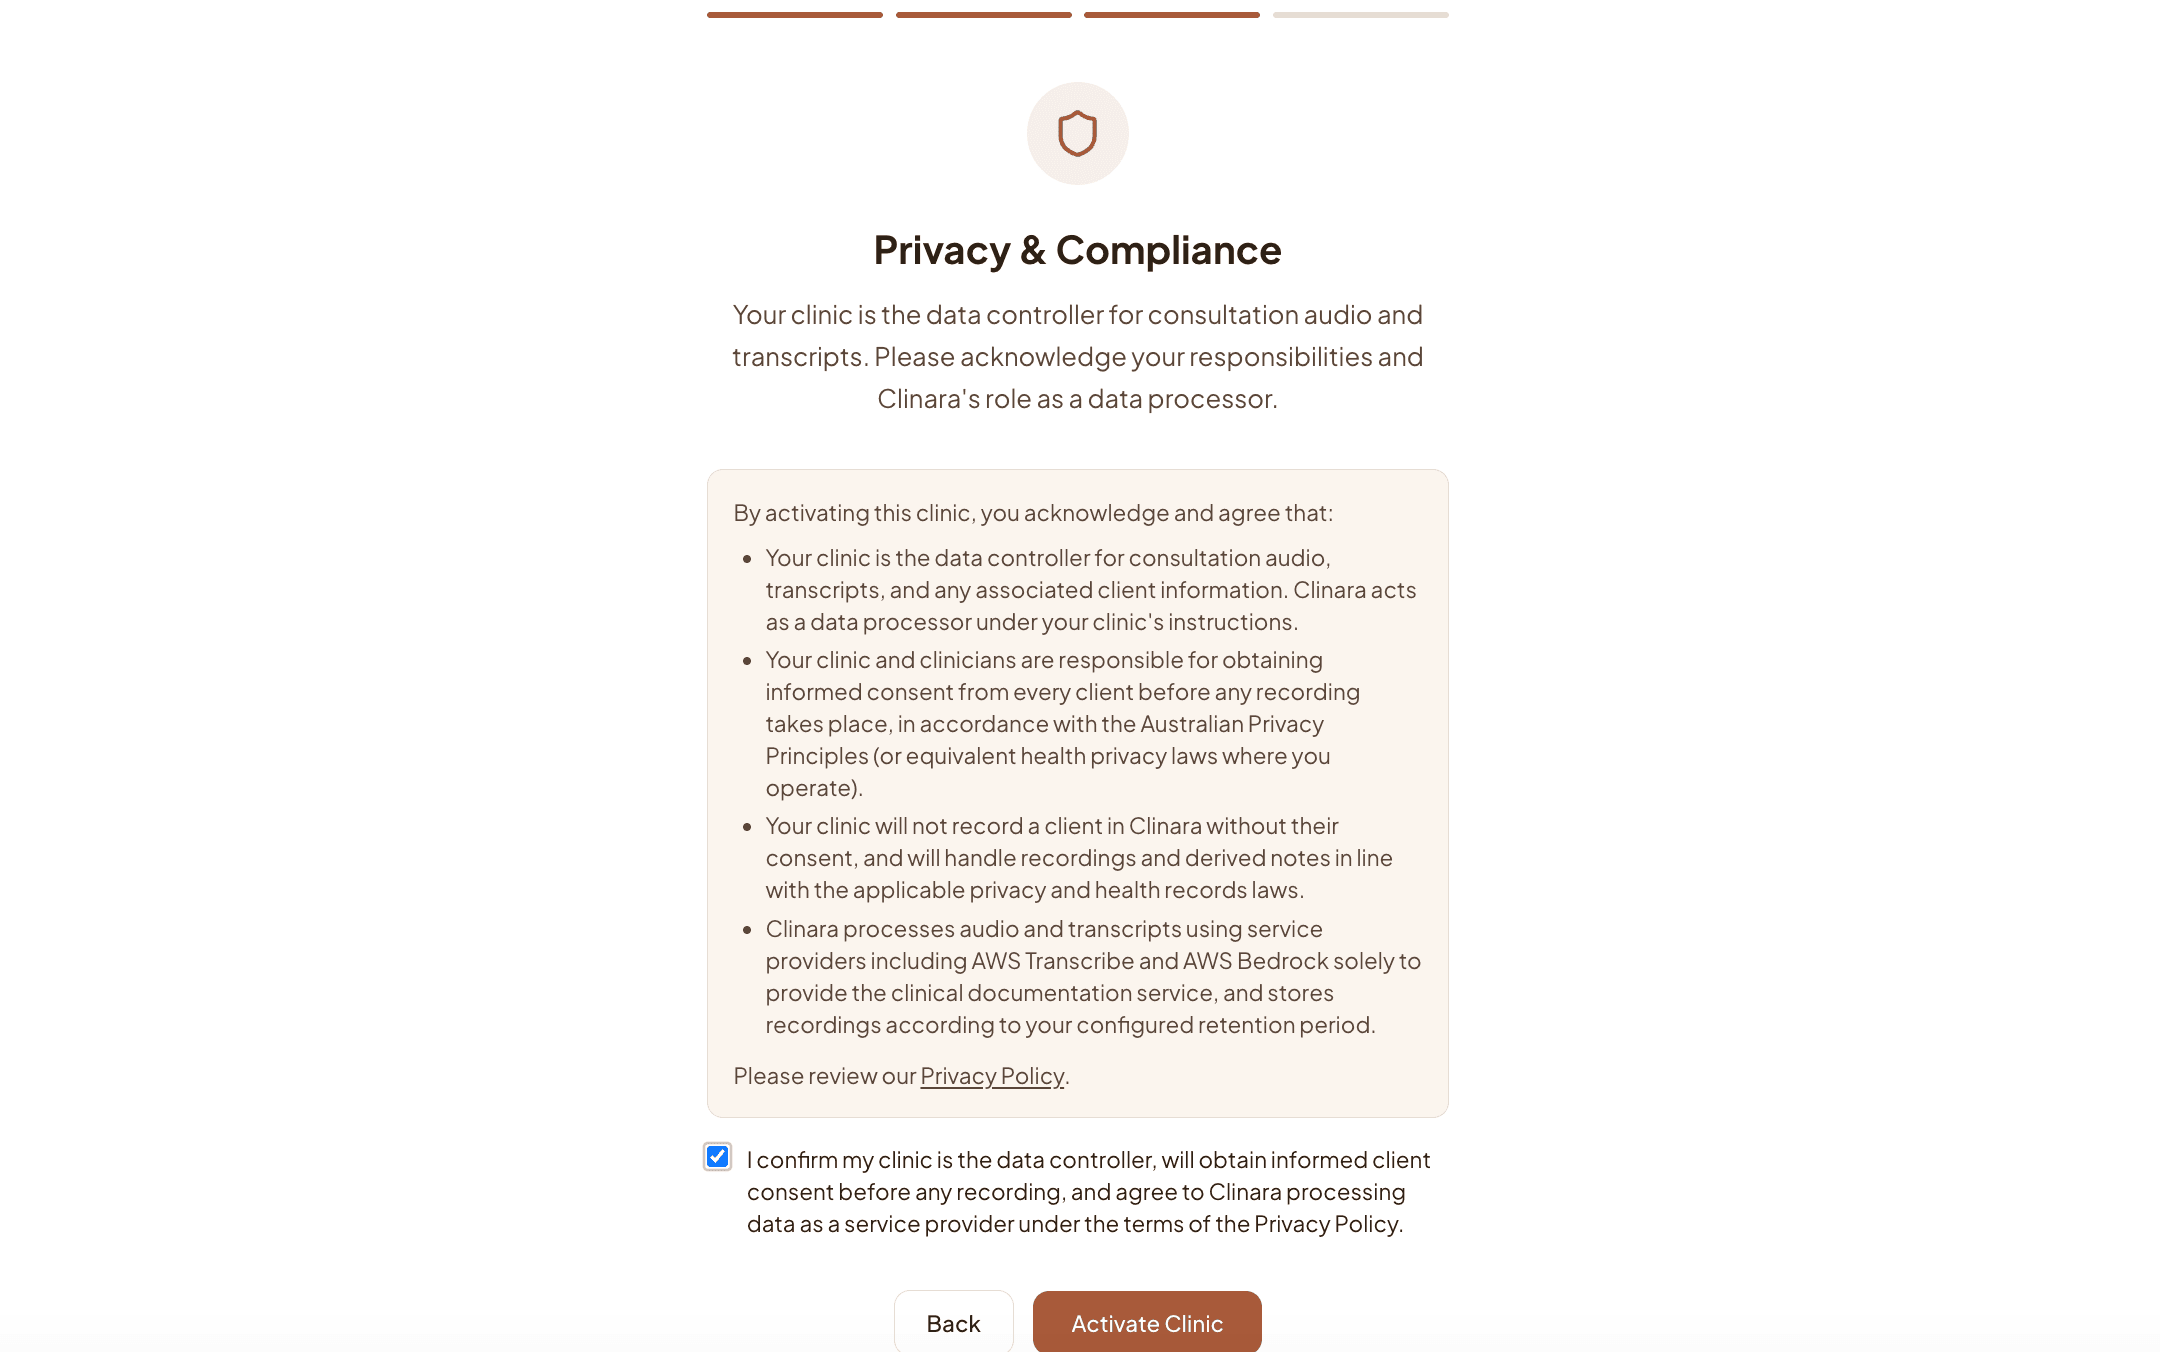
Your clinic is the data controller for consultation audio, transcripts, and any associated client information — Clinara processes that data on your behalf. Read the acknowledgements, tick the confirmation box, then click “Activate Clinic”.
You’re all set
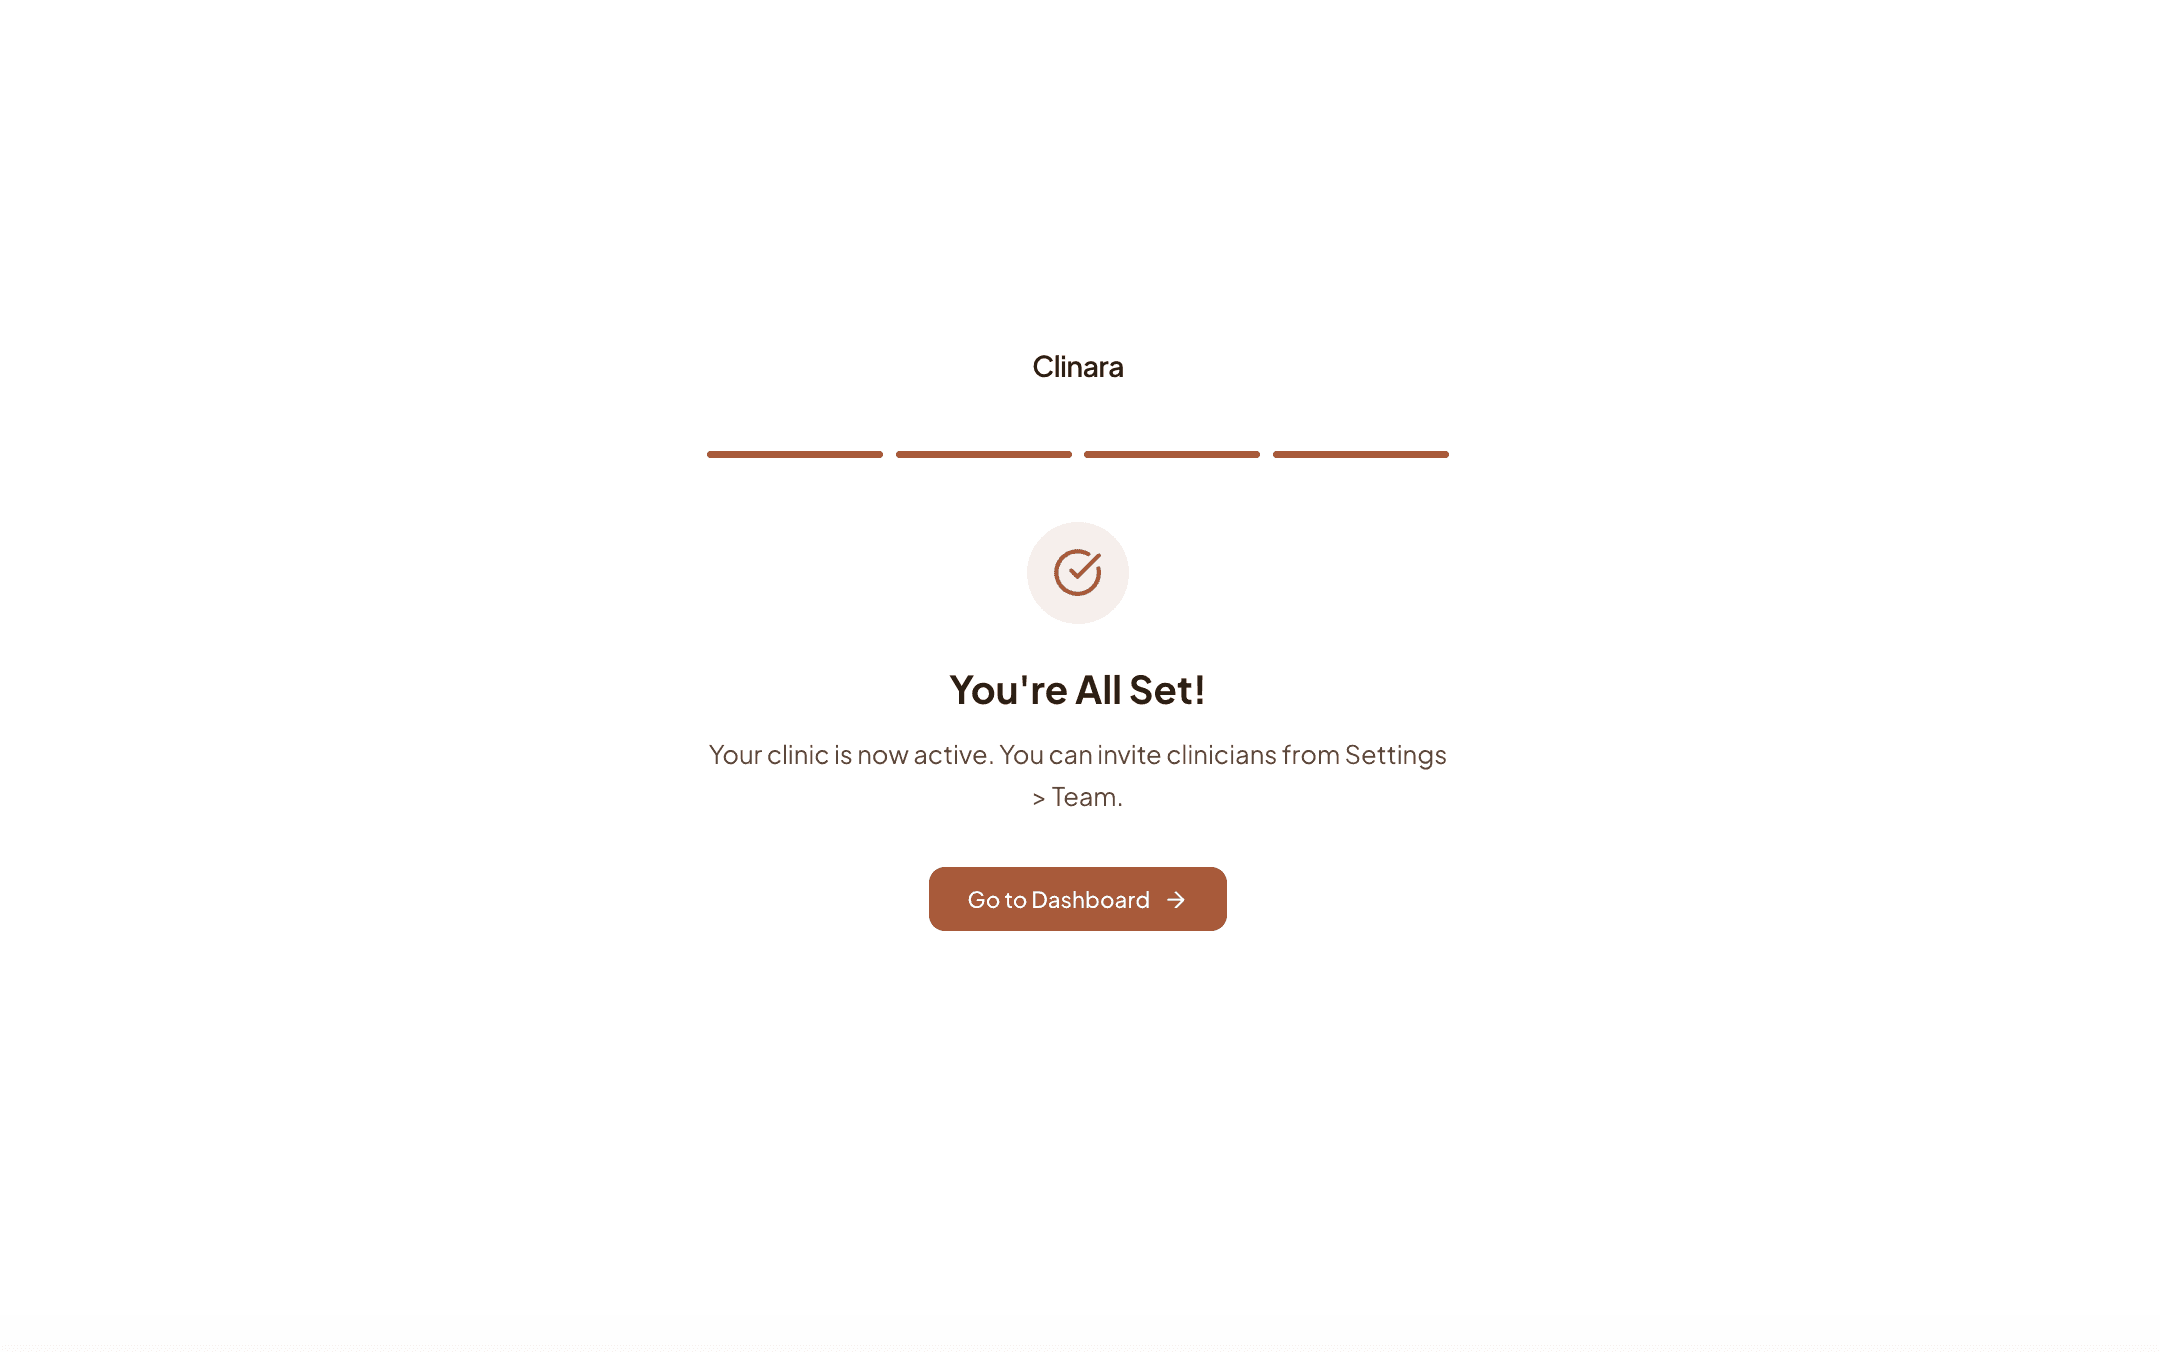
Your clinic is now active. Click “Go to Dashboard” to continue with the rest of the setup.
Work Through the Dashboard Checklist
Open the setup checklist
Your dashboard shows a “Get started with Clinara” card with the remaining steps: customise your kiosk branding, set your admin PIN, set up your kiosk device, invite your team, and run your first session. You can complete them in any order — the checklist disappears once everything required is done.

Customise Kiosk Branding
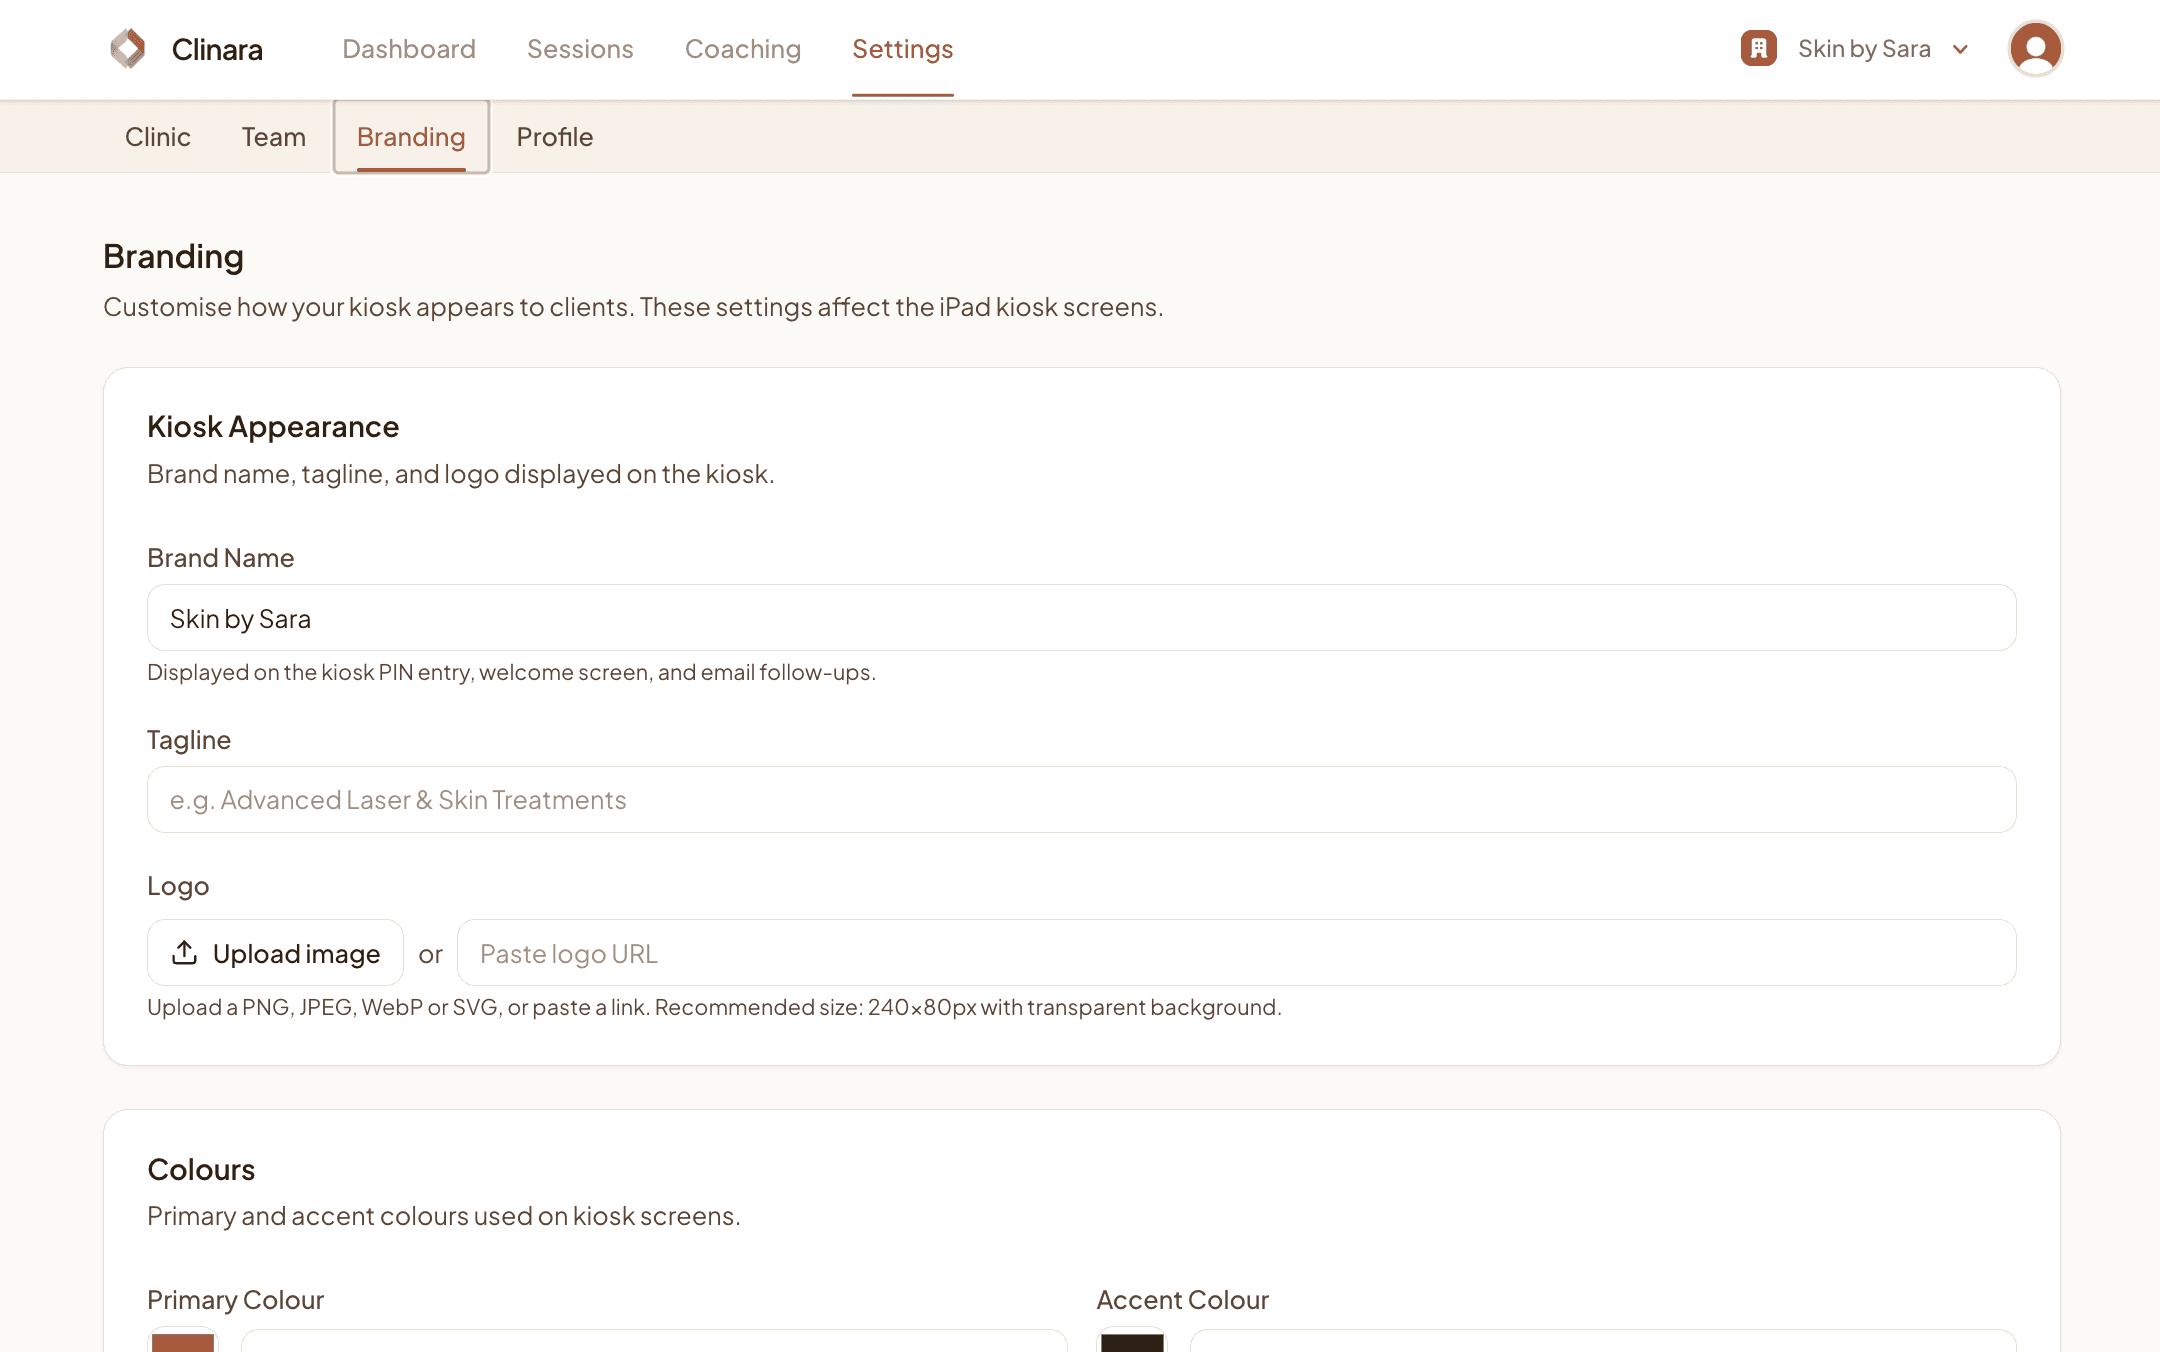
Open Settings › Branding
Branding controls how the kiosk looks to your clients. Set your brand name (shown on the PIN entry screen, welcome screen, and email follow-ups), an optional tagline, and upload your logo as a PNG, JPEG, WebP, or SVG (240×80px works best with a transparent background).
Pick your kiosk colours
Choose the primary colour used for buttons and accents and the accent colour used for headers and dark backgrounds. Use the colour picker to match your existing brand, then click “Save Branding”. The new colours apply across every kiosk screen.

Manage Clinic Settings
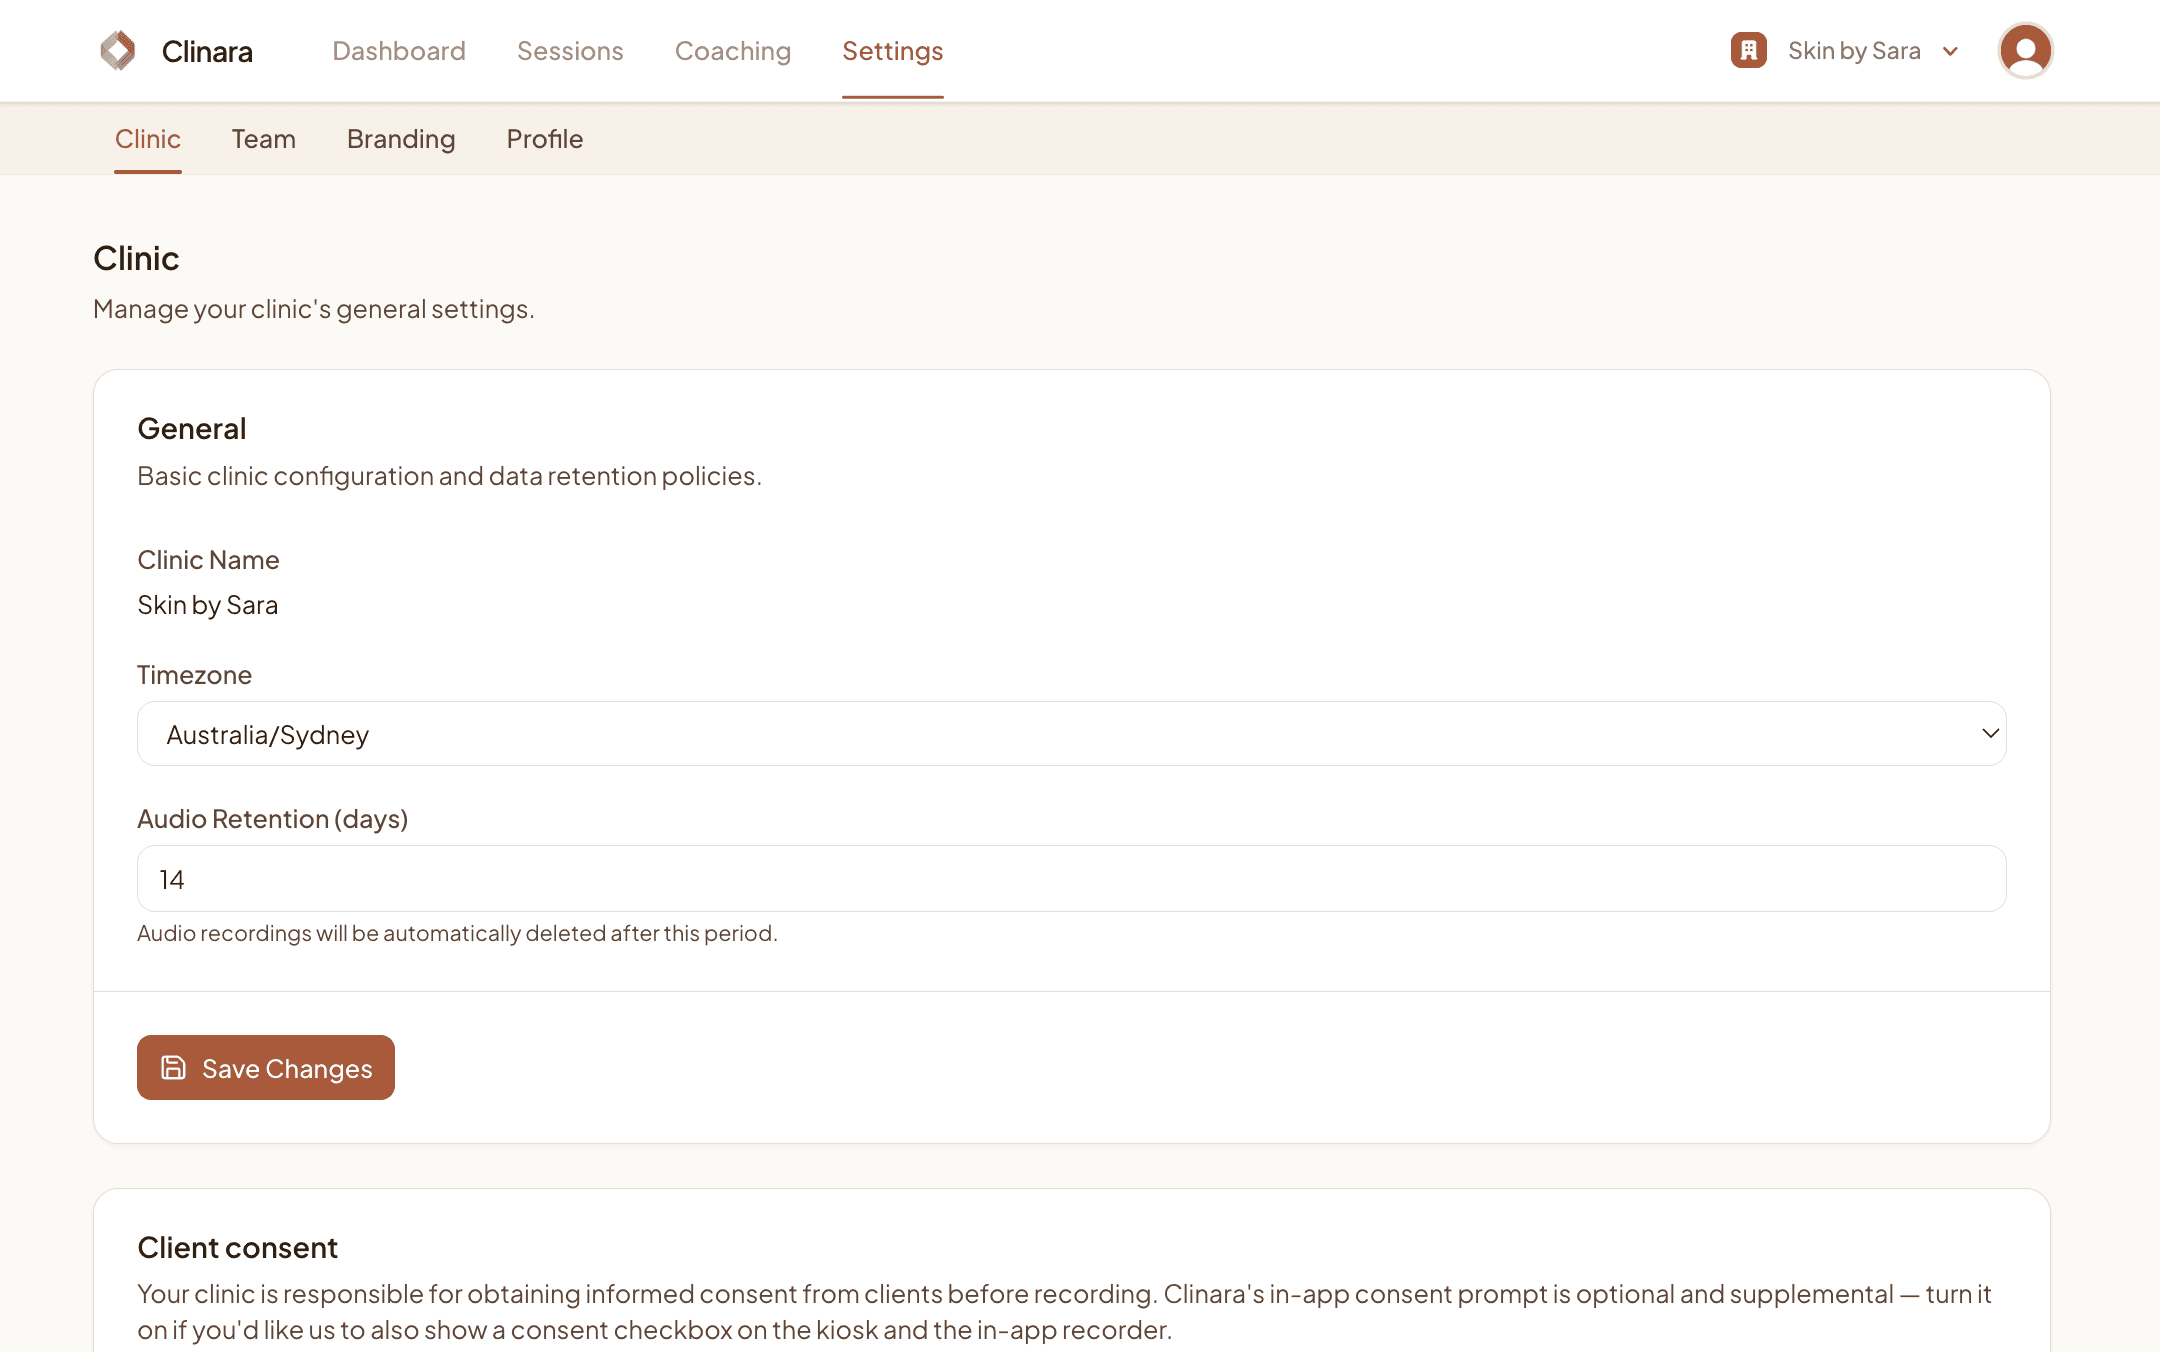
Edit your clinic’s general settings
Settings › Clinic is where you can update your timezone, audio retention period, and clinic name at any time after activation. Changes take effect immediately once you click “Save Changes”.
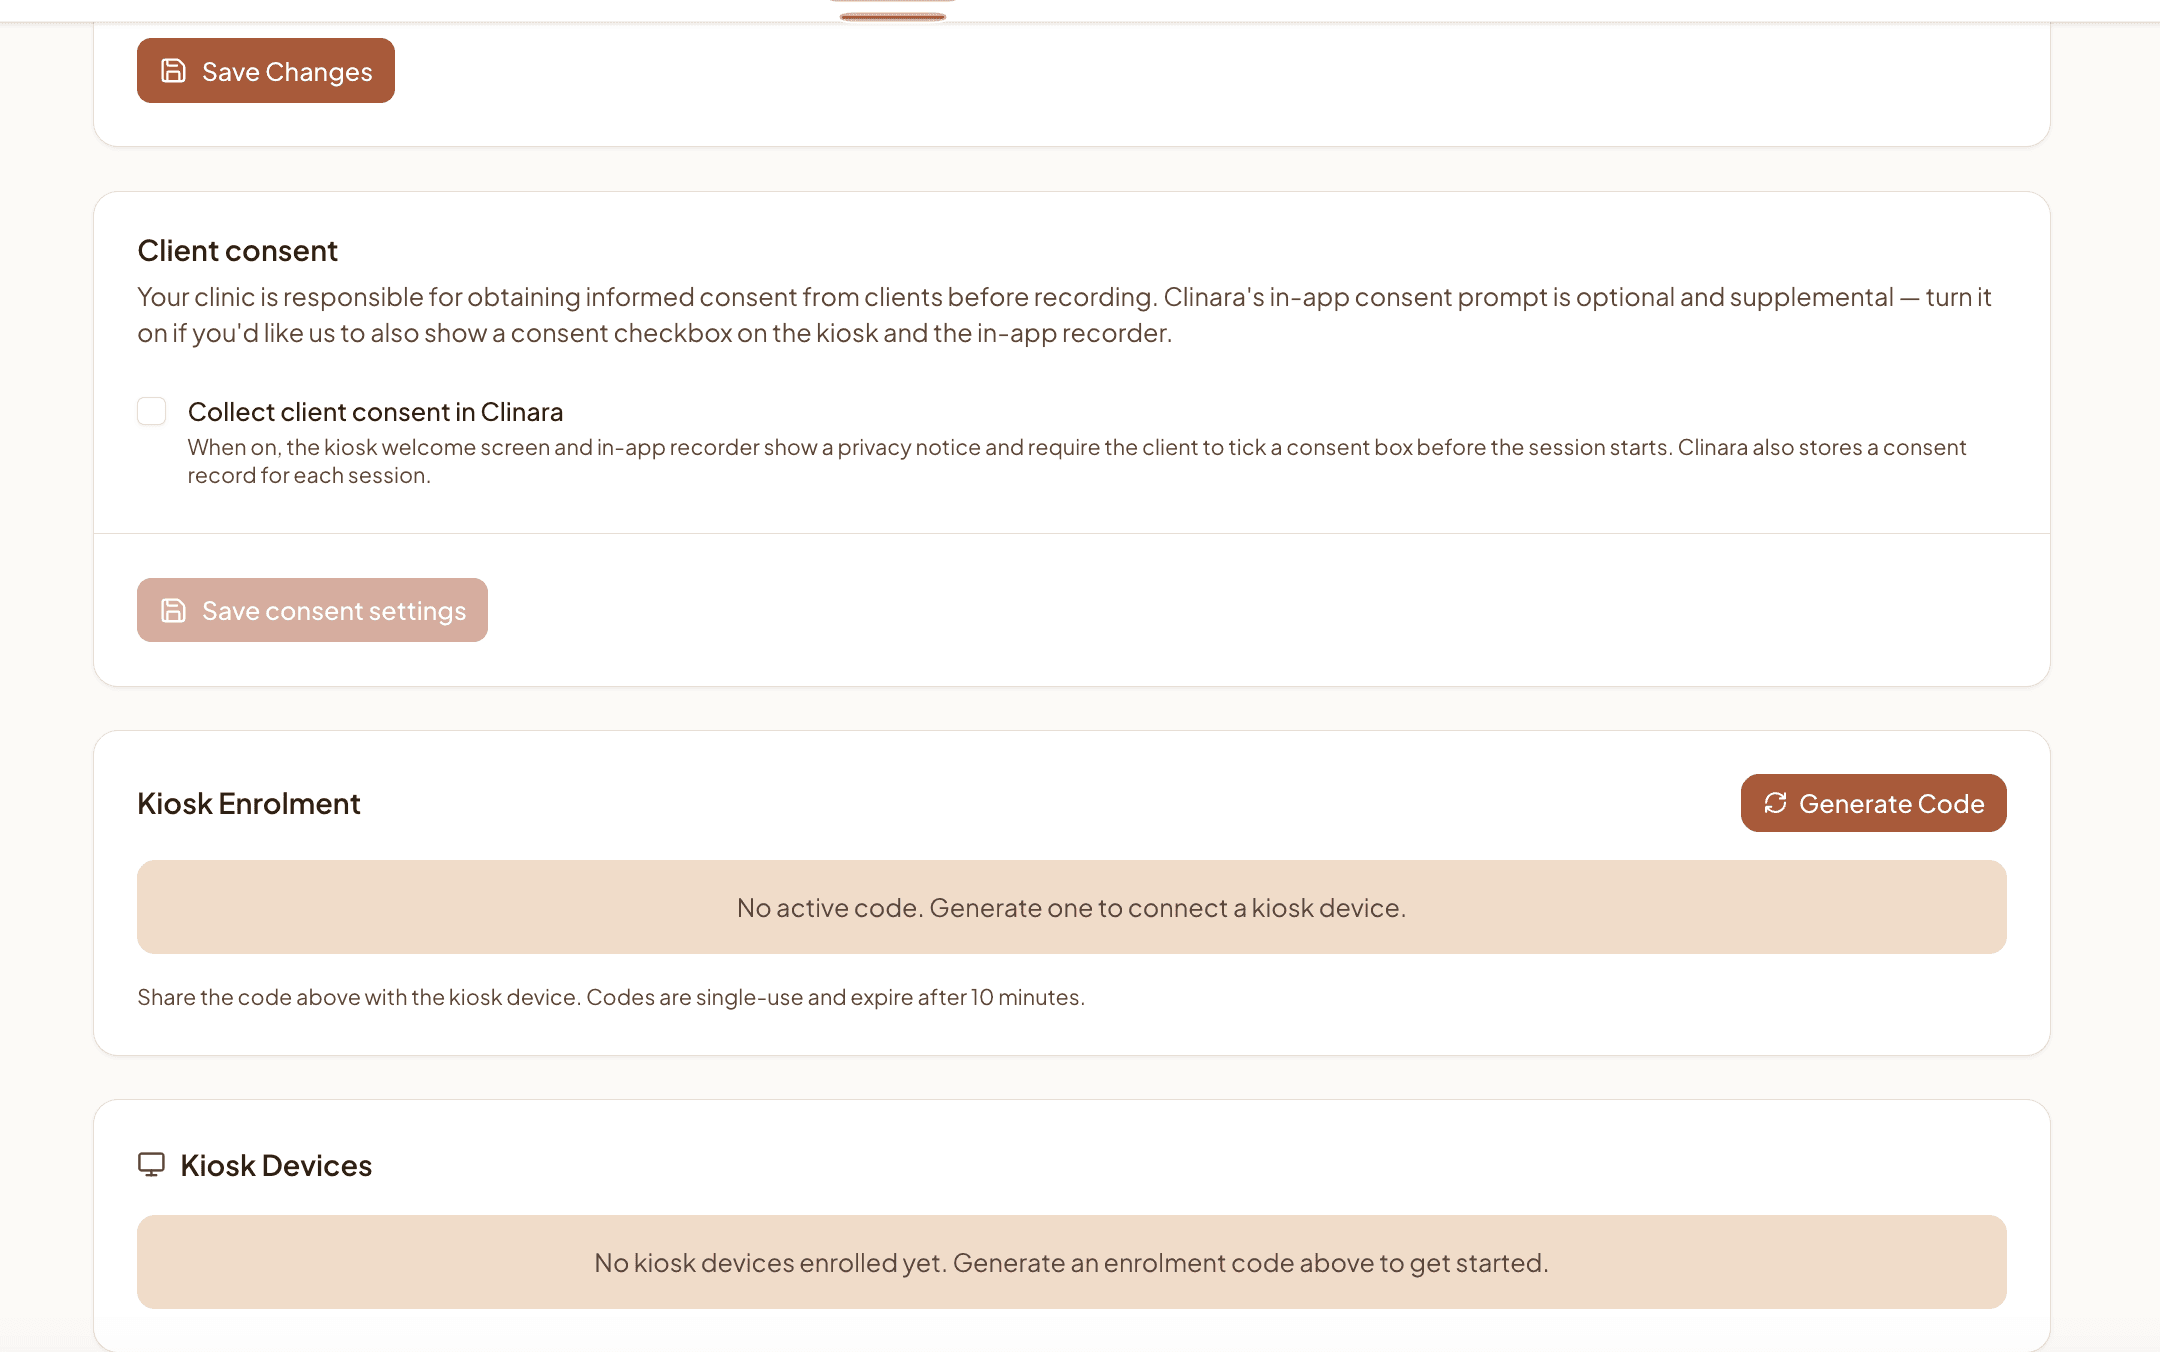
Decide how you handle client consent
Your clinic is responsible for obtaining informed consent from every client before recording. Clinara’s in-app consent prompt is optional and supplemental. Tick “Collect client consent in Clinara” if you’d like the kiosk welcome screen and in-app recorder to show a privacy notice and require the client to tap a consent box before each session — Clinara then stores a consent record alongside the recording.
What’s next?
Once your clinic is active, work through the rest of the setup checklist with these guides:
- 1Invite your team — Add clinicians and admins so they can sign in, set their kiosk PIN, and start recording sessions.
- 2Connect your iPhone or iPad — Download the Clinara app, generate an enrolment code, and confirm the device is active.
- 3Run your first session — Walk through a recording end-to-end so you know exactly what your clients and clinicians will see — either on the kiosk app or directly in the browser.
Need help? Contact support